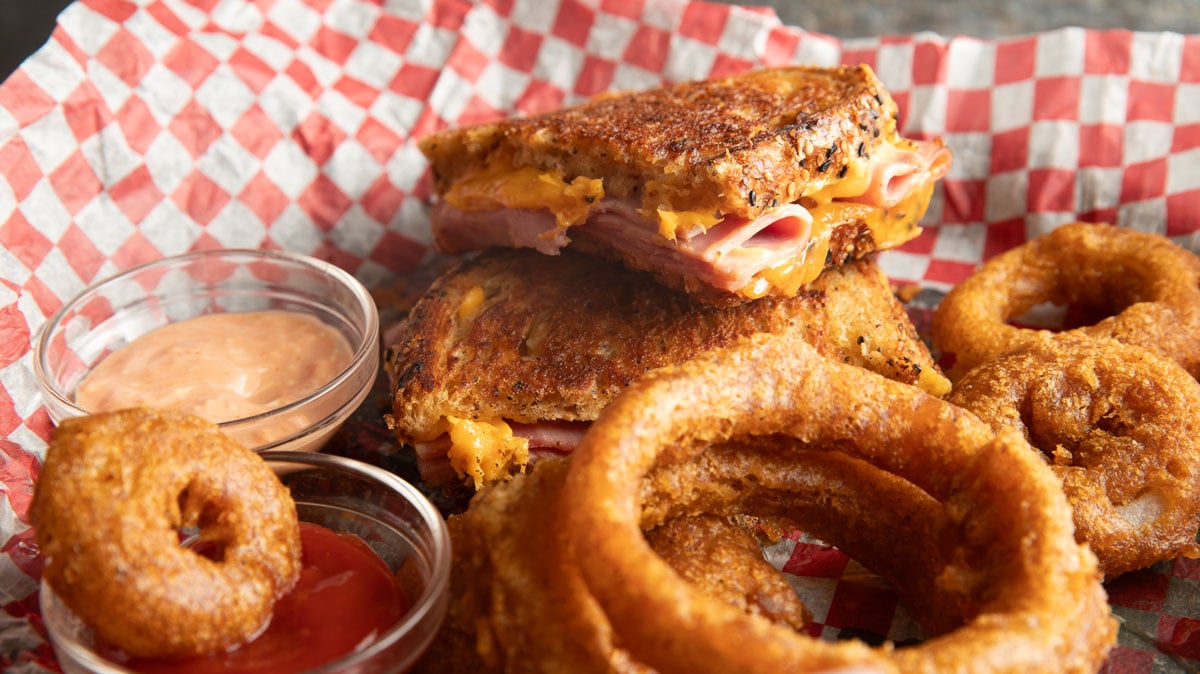
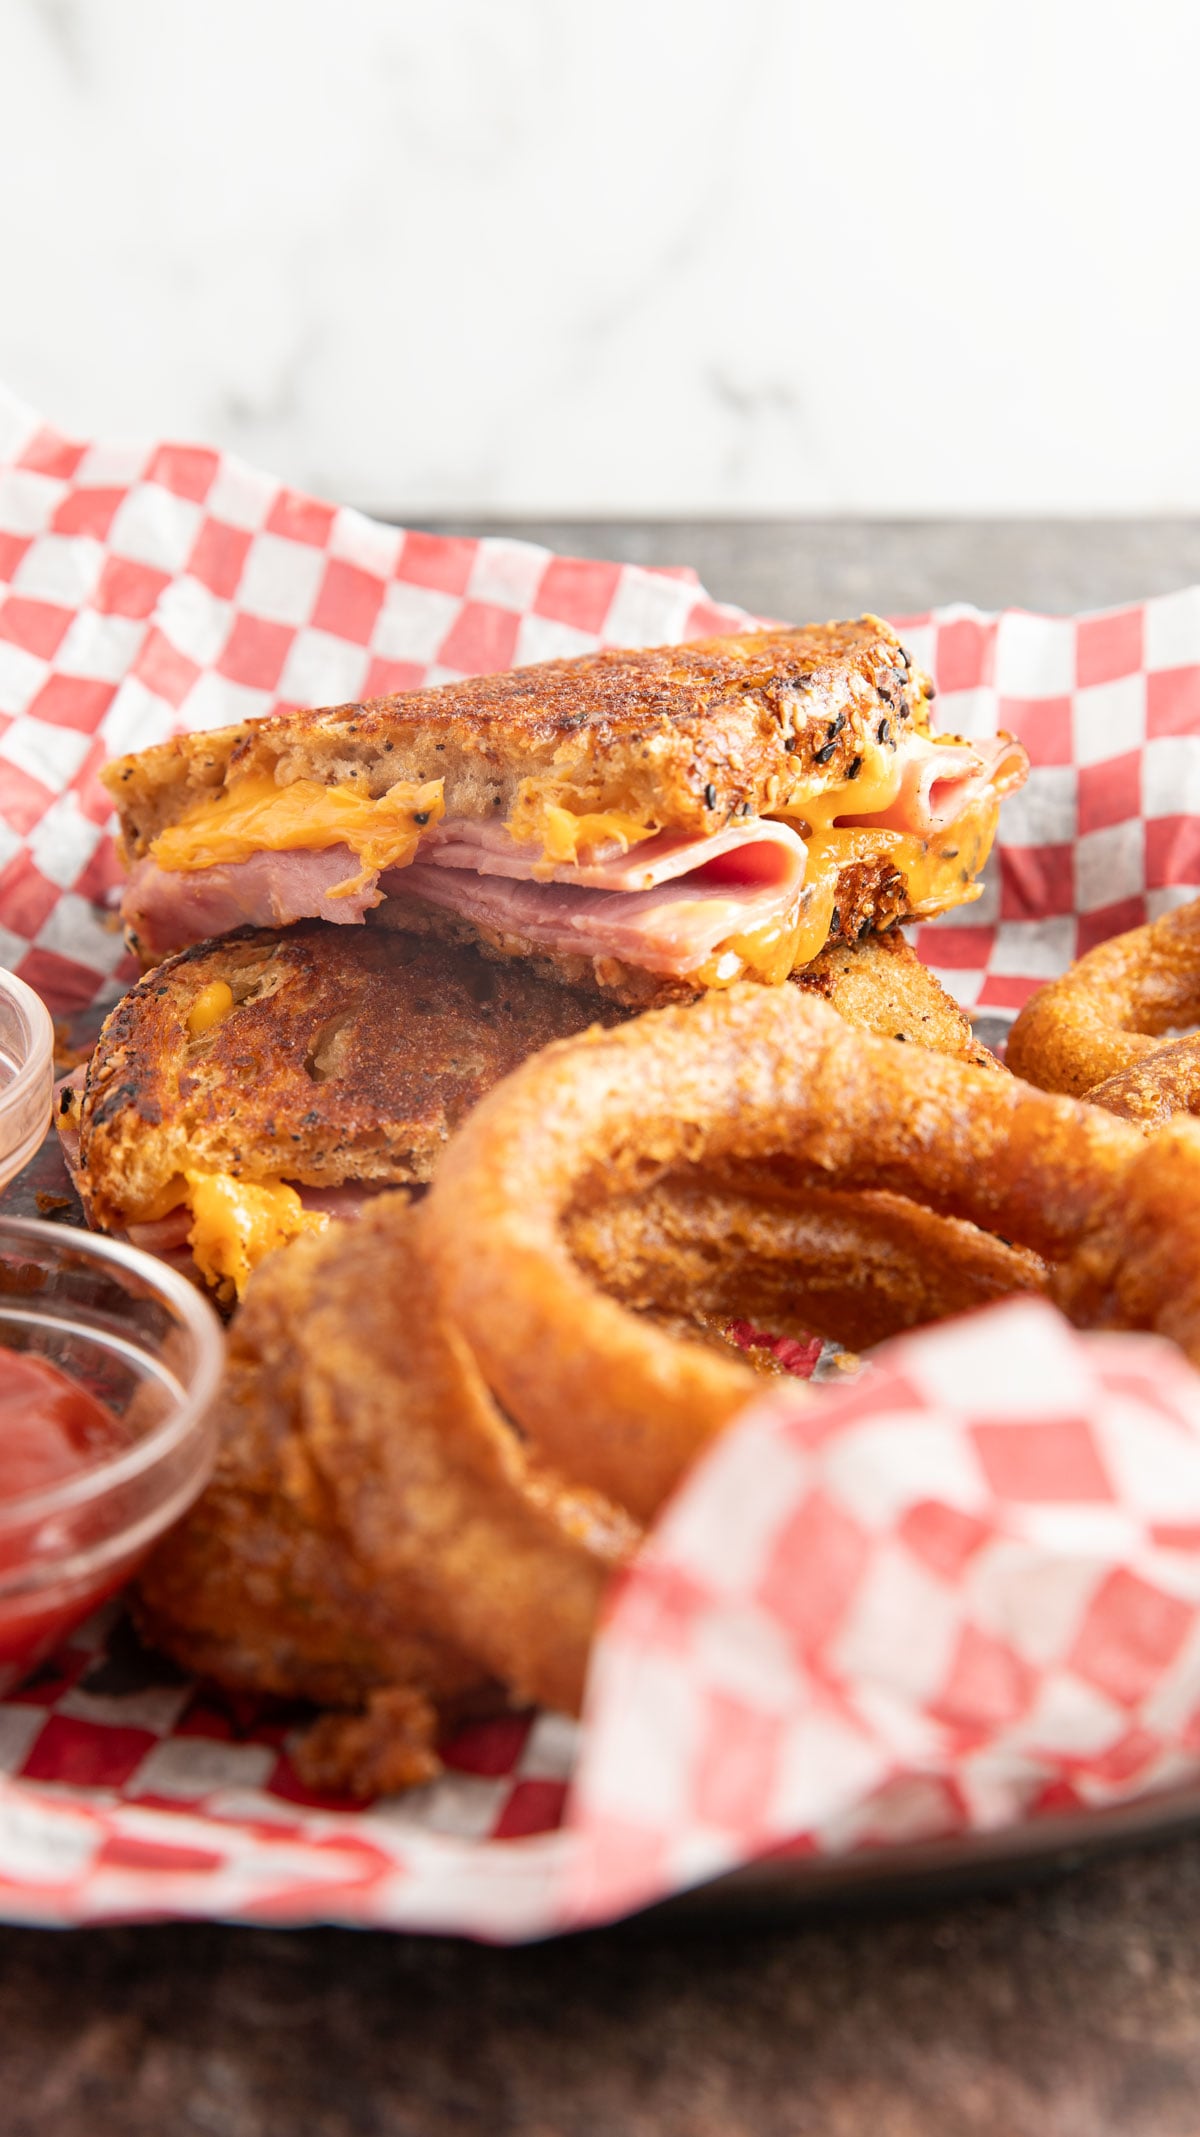
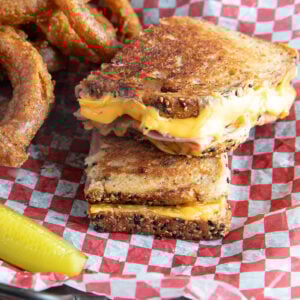
Crispy Ham and Cheese Grilled Cheese

Ham and Cheese Grilled Cheese is a fast lunch or dinner that stays crispy on the outside and firm in the middle. No soggy bread. No sliding fillings.
🍽️ Recipe Name: Ham and Cheese Grilled Cheese
⏰ Ready In: 20 minutes
👥 Serves: 4
⏳ Prep Time: 5 minutes
🔥 Cook Time: 15 minutes
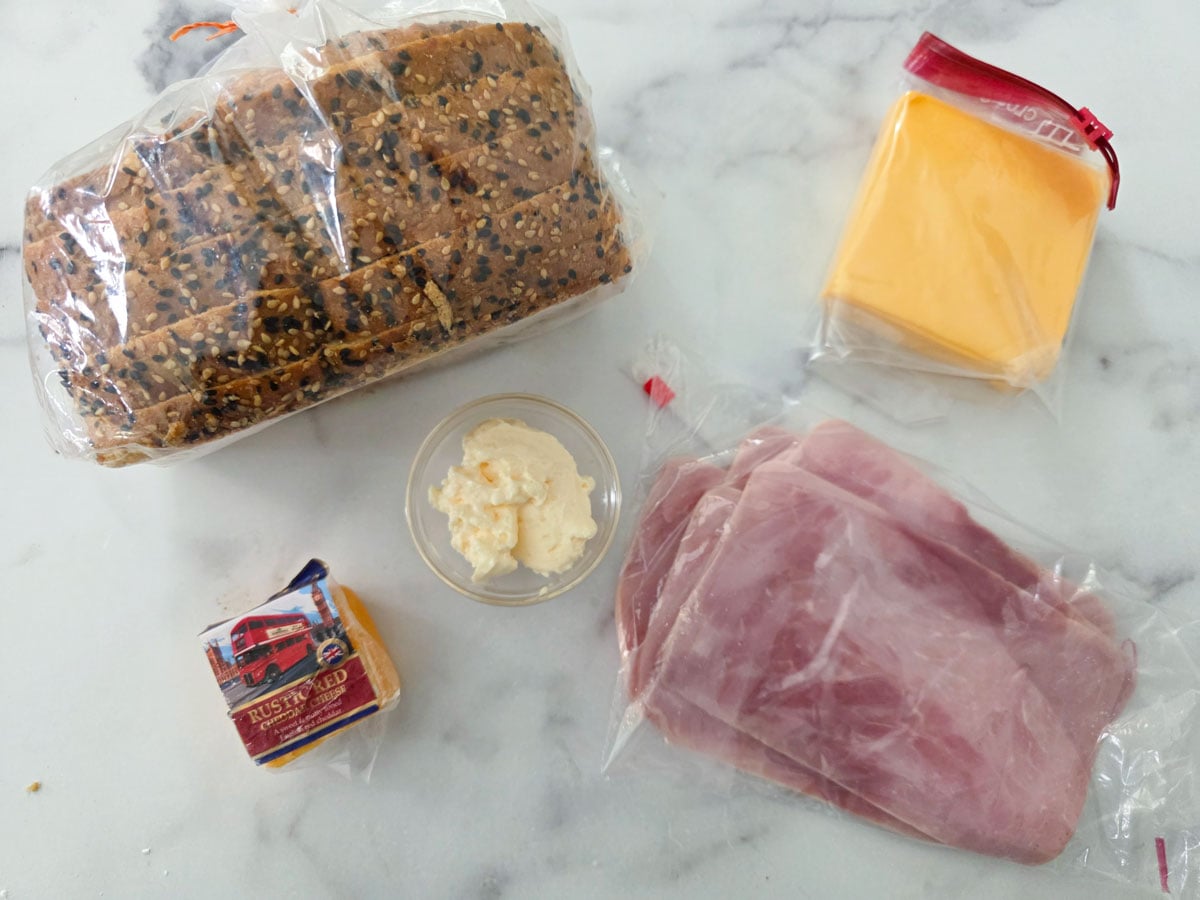
🥕Main Ingredients: Bread, ham, cheese, mayonnaise
🍳 Special Equipment: cast iron skillet
⭐ Why You’ll Love It: Crispy outside with melty cheese and smoky ham inside. No soggy bread and no sliding fillings.
Have you ever had a grilled sandwich that is perfectly crispy on the outside but a soggy mess on the inside? That is no way to eat grilled ham and cheese. We’ll give you actionable tips to get the perfect crisp on the outside and a firm texture on the inside.
Why Should You Make It?
- It has a wonderful crunch, and even the middle doesn’t get soggy, thanks to our trick.
- The cheese is both flavorful and gooey, thanks to two different types.
- It’s done in less than 10 minutes, freeing up time to get on with your day.
- It’s both kid and adult-friendly, to satisfy the whole family.
Butter vs. Mayo
There is a significant debate over how to achieve the best crunch. First, there are advantages and disadvantages to both. Butter produces a delicious flavor. Mayo spreads more easily to reach the edges of the bread, so it all gets crispy. If you use butter, melt it and brush it onto the slices, or use very soft butter.
We’ve done significant testing over the years. We tested the same bread and ingredients, swapping only the fat on the outside. In our testing, mayonnaise wins the crunch factor test, so we generally use that.
What Bread to Use
Choose a thick-cut bread so it can support the fillings without collapsing. Any style works, but thickness matters more than type.
The real trick is to toast both sides of the bread.
Toasting the inside adds extra crunch and creates a barrier that keeps the sandwich from turning soggy. It also helps anchor the ham and cheese so the filling doesn’t slide out when you bite into it.
What are the Best Cheeses to Choose?
Choose at least two types of cheese for the most well-rounded sandwich. For this sandwich, we chose sharp or extra-sharp cheddar cheese for the flavor. For a melty, silky texture, choose an American cheese; we used Velveeta, sharp slices.
You can also use Swiss cheese for a ham-and-Swiss grilled cheese. If you use Swiss, try a provolone, mozzarella, or white American cheese for the melty cheese.
What You Need
- Bread: Use thick-cut bread so it holds up to the ham and cheese without collapsing.
- Ham: Shaved or thin-sliced deli ham works best. Pat it dry before layering to prevent soggy bread.
- Cheddar Cheese: Sharp or extra-sharp cheddar adds bold flavor.
- American Cheese: Use slices like Velveeta for a smooth, melty texture.
- Butter or Mayonnaise: Spread on both sides of the bread for the crispiest crust.
- Skillet: A heavy-bottom skillet, such as a cast-iron skillet, helps achieve even browning.
How to Make It
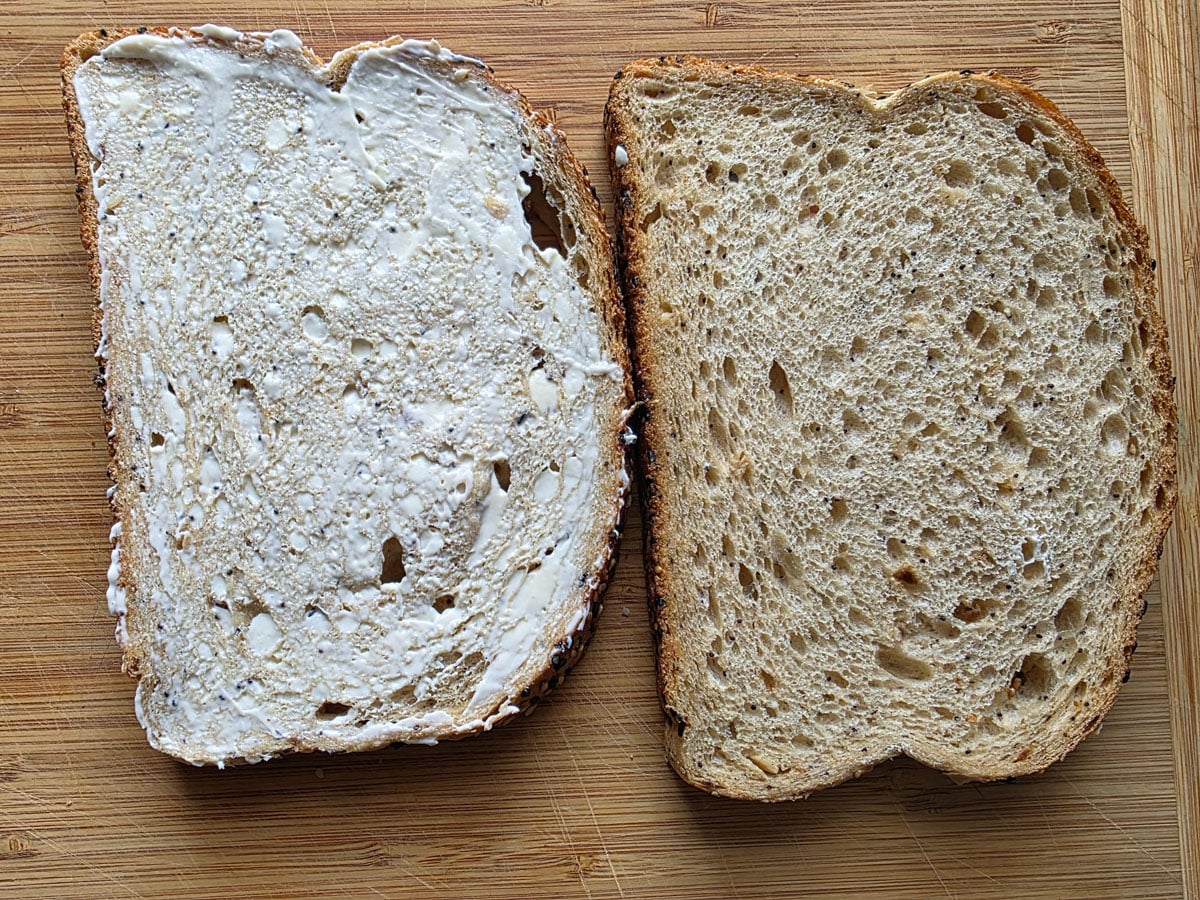
Spread butter or mayonnaise on both sides of the bread. This is one of our secret tricks to make the crispiest grilled ham and cheese sandwich.
Use a heavy-bottom skillet, like cast iron, to get more even heating. Heat the skillet on the stove over medium to medium-low heat.
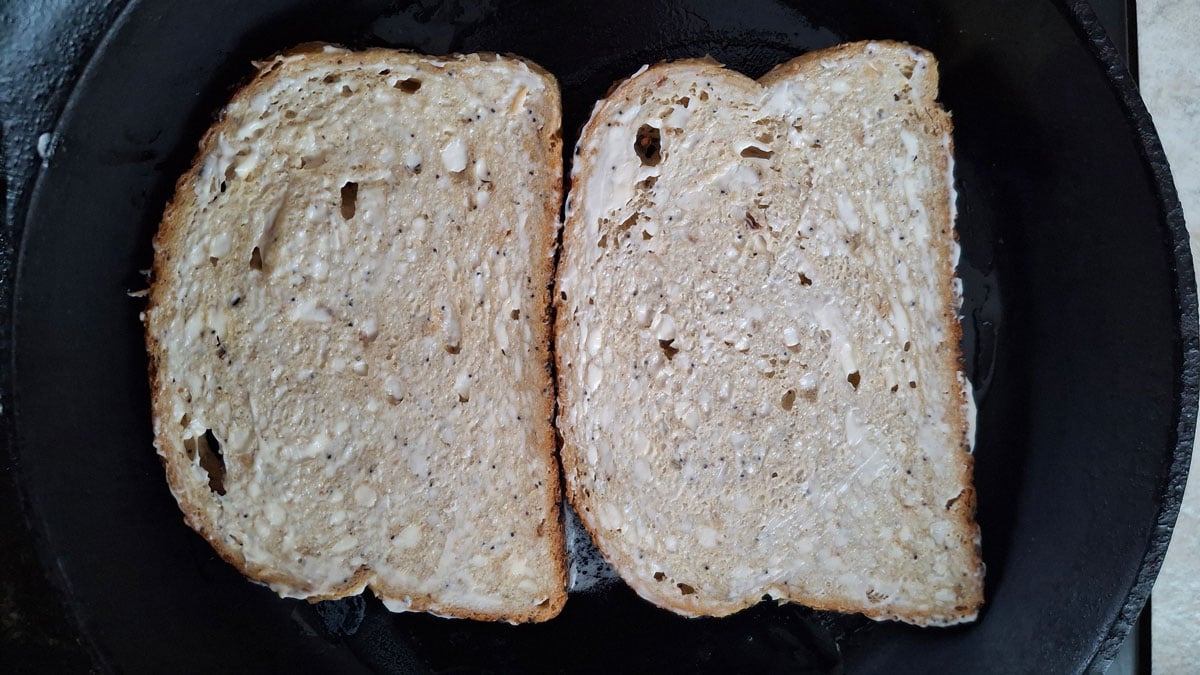
Put one side of the bread in the skillet. Fry it until it is golden brown.
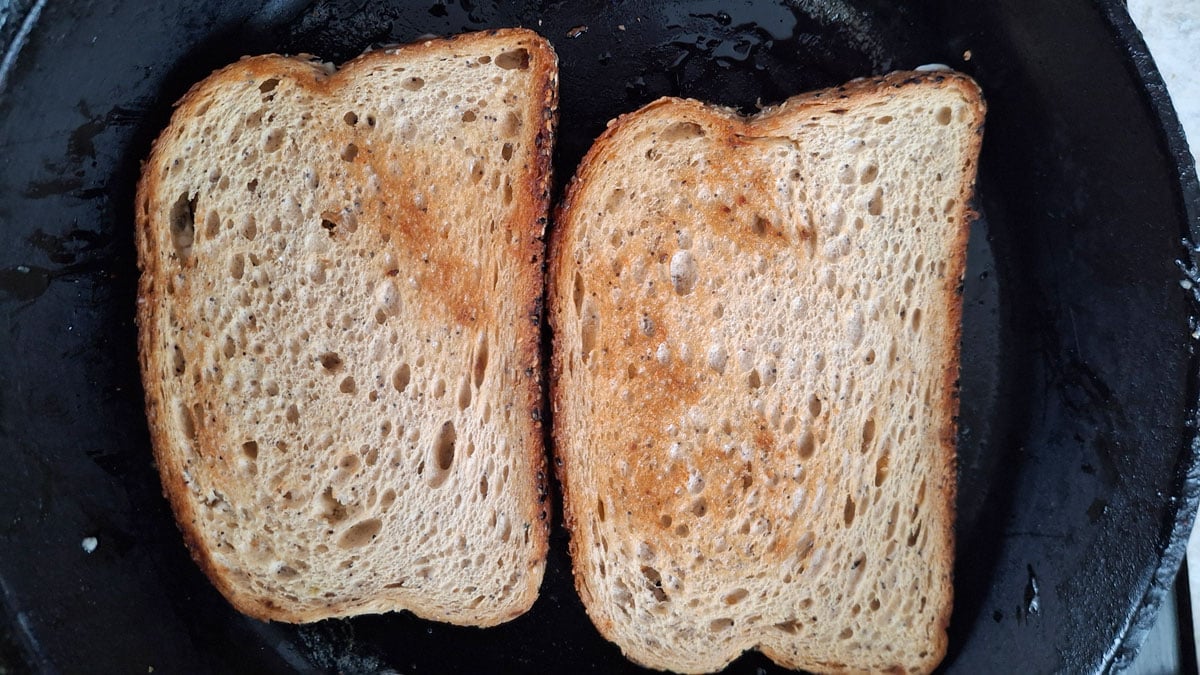
Remove the bread from the skillet. Build the sandwiches on a cutting board.
Pat the deli ham dry between layers of paper towel to remove excess moisture. This will ensure the sandwich stays extra crispy.
Lay the sliced cheddar on the browned side of one of the bread pieces. Top that with the ham.
Top the ham with the melty cheese. Then, lay one of the other sides that has been browned with the browned side towards the inside of the sandwich.
Carefully lay the sandwich you’ve built into the frying pan. Brown the outside of the sandwiches on one side until golden.
Pro Tip: When the sizzling slows or nearly stops, the bread has finished releasing moisture and is ready to flip.
Carefully flip the sandwich over. In the last couple of minutes, cover the pan with a lid. This will trap in heat and melt the cheese. Brown that side until golden brown.
How to Keep it Crispy?
Another trick for the perfect grilled ham and cheese is to toast the bread over medium heat. Be patient. The slower you toast the bread, the deeper it becomes. Higher heat produces the color, but you risk burning the bread, and the crust doesn’t go as deep. It will just be the top layer of the bread that is browned. Let the sandwich rest briefly before slicing so the cheese has a chance to set slightly.
How to Store/Reheat the Sandwiches
These sandwiches are best enjoyed fresh off the skillet while the crust is at its crispiest. That said, they still reheat well if stored properly. Store leftovers tightly wrapped in foil or in an airtight container in the fridge for up to 3–4 days.
Don’t reheat them in the microwave, or they become soggy.
To reheat them, preheat the air fryer to 325°F. Air fry for about 3 minutes. Carefully open the air fryer and flip the sandwiches with tongs. Continue to air fry for another 3 minutes until the cheese is melty, and the ham is warmed through.
They can also be reheated in the oven. Preheat the oven to 350°F. Place the sandwich on a baking sheet. Heat it for 10 minutes. Test both the top and bottom crust for crispiness. If one side isn’t as crispy as you’d like, flip it with tongs and continue reheating until it is.
Variations
There are several different, tasty variations to this recipe.
- Slather your favorite mustard over the ham.
- Add sliced tomatoes to the sandwich for a fresh note.
- Add a fried egg for a breakfast-style sandwich.
FAQs
Absolutely. We love the air fryer for grilled cheese sandwiches. It is less cleanup, fast, and easy.
Yes, you can. Leftover ham makes a delicious ham-and-cheese grilled cheese sandwich.
Traditionally, a melt is often open-faced and finished under a broiler, while a grilled ham and cheese is closed and cooked in a skillet. In everyday cooking, the terms are often used interchangeably.
What to Serve with Them
Helpful Tools
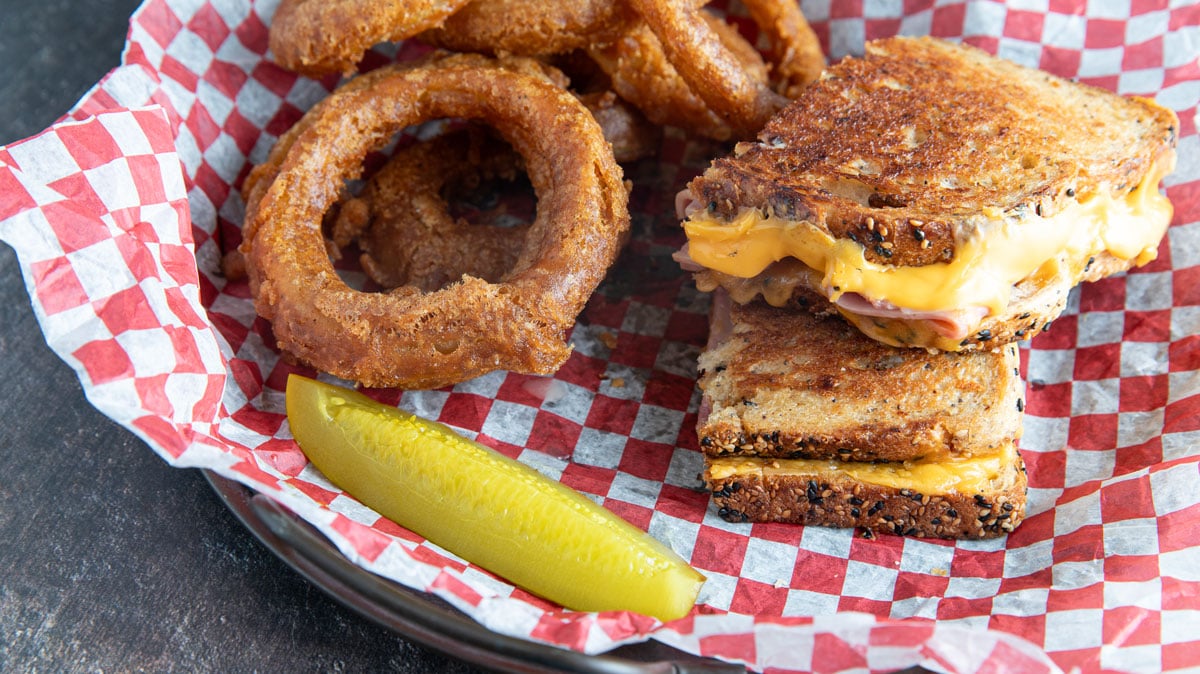
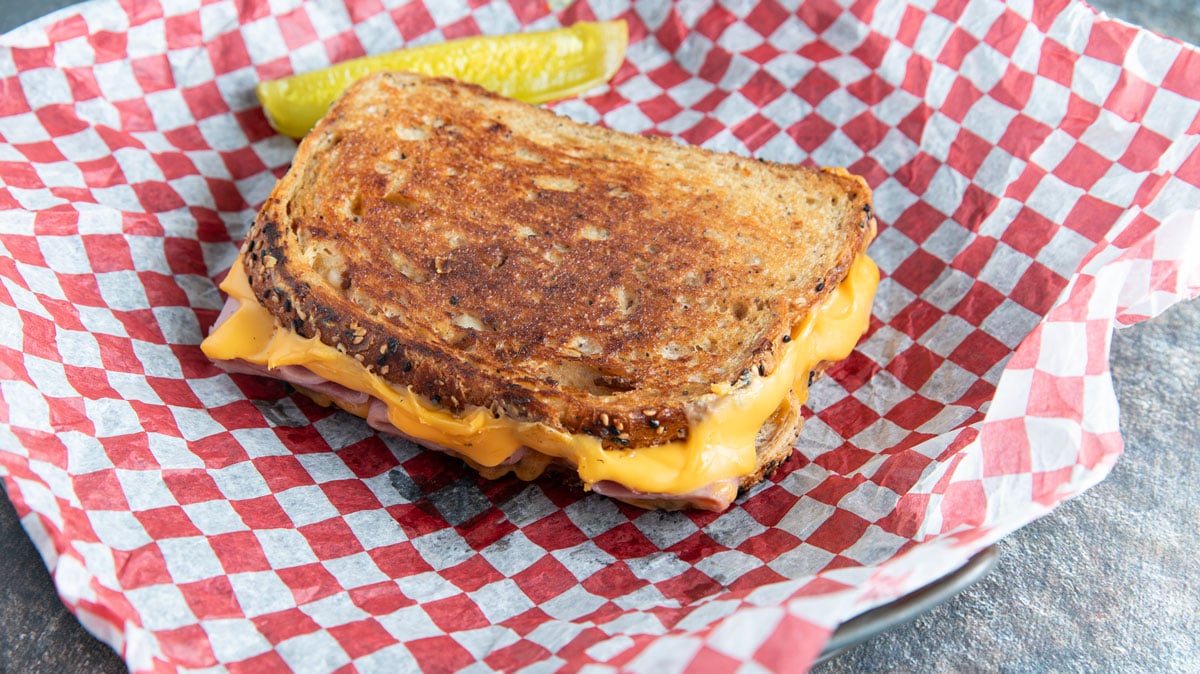
Ham and Cheese Grilled Cheese is perfect when you aren’t in the mood for cooking. The crispy bread contrasts with the tender ham and gooey cheese.

Crispy Ham and Cheese Grilled Cheese
Ingredients
- ½ pound deli ham
- 3 tablespoon mayonnaise or softened butter
- 8 slices cheddar cheese
- 8 slices American cheese
- 8 slices bread of your choice
- 4 tablespoon mayonnaise
Instructions
- Thinly and evenly spread mayonnaise or softened butter on both sides of the bread slices. Or melt the butter and brush it on.
- Place 2 pieces of bread, buttered side down in a frying pan over medium heat. Toast on first side. Remove them from the skillet.
- Pat the ham dry with paper towels to remove extra moisture. Top the toasted side of the bread with 2 slices of the cheddar cheese, then top the cheese with 1/4 of the ham. Lay 2 pieces of the American cheese on top of the ham.
- Place the second piece of bread on top of the sandwich, with the browned side towards the inside of the sandwich. Place sandwiches in a large cast-iron skillet over medium to medium-low heat.
- When the sizzling slows down or nearly stops, the bread has finished releasing moisture and is ready to flip. When sandwiches are golden brown, carefully flip with a spatula, so you don't lose ingredients. Be careful not to burn the bread. Top the pan with a lid so that cheese melts nicely.
- Repeat until you have 4 sandwiches.
- Let cool slightly before serving.
- Can be kept warm in the oven on low heat, until all sandwiches are toasted.


