
Venison Stew


This Venison Stew is so easy. It’s so much healthier than beef and has just as much flavor. The venison is neither gamey nor tough. It is melt-in-your-mouth tender, in the slow cooker or on the stove.

🍽️ Recipe Name: Venison Stew (Slow Cooker or Stovetop)
⏰ Ready In: About 8 hours 20 minutes (including overnight rest)
⏳ Prep Time: 20 minutes
🔥 Cook Time: 8 hours (slow simmering in two stages)
👥 Serves: 6
🥕Main Ingredients: Venison stew meat, onion, carrot, celery, red wine, potatoes, butternut squash, mushrooms, peas, herbs, stock or water.
🍳 Special Equipment: Dutch oven or slow cooker, heavy-bottom pan, cutting board, knife.
⭐ Why You’ll Love It: Deep, rich flavor with tender, melt-in-your-mouth venison. Simple prep, flexible cooking methods, and a hearty stew that gets even better after slow simmering.
👇 Full measurements and instructions are in the recipe card below.
So, cooking with venison is a learned skill. Because it is so lean, care is required when cooking. When venison is quickly cooked, it must be cooked medium rare. But… if it is slow-cooked, it can be cooked to well-done. The slower the better.
As we do for most of our soups and stews, we cook it the first day, then cool it down and refrigerate it overnight. This is optional, but doing so will give the flavors a chance to meld and enhance each other.
Seriously, when was the last time you ate leftover chili or stew and didn’t think it was better the second day?
Then, after a day or two, heat the stew up on high to take the chill off. When it is hot, reduce the heat to low and continue.
When we make a stew or meaty soup, we usually just do the meat, mirepoix, and spices the first day.
Then add the vegetables you wish to use on day two, in the order of how long they take to cook, until they reach the consistency we like. In other words, vegetables that take longer to cook will get added first.

No Beef Stock Needed
This stew has no beef stock in it. We find that the beef flavor takes over the stew, and it no longer tastes like venison.
Instead, make venison stock from some of the bones left after processing the meat. It is then bagged and frozen, and it will last a very long time in the freezer. You can even can your own venison broth in your pressure canner.
In lieu of that, if I am out of stock, I just make sure I brown the meat very well, over high heat.
The “fond” (all of the brown stuff left in the pan after the browning process) is the flavor you want to use for your stew.
If you feel like there isn’t enough flavor using the fond, use a vegetable stock instead, or make your own from kitchen scraps.
Which Cuts of Venison to Use?
The best cuts are located on the lower section of the rear leg above the shank. The bottom round, rump, sirloin, and others will work well.
This meat is tougher than other cuts, so it benefits from long cooking times to make it fork-tender, and they have great flavor.
What You Need – Day One
- Deer meat- back leg cuts work great. Dry meat thoroughly with a paper towel
- Oil – any mild-flavored oil will work
- Carrot – slice or dice, depending on how chunky you want your stew to be.
- Celery – slice or dice, as above
- Onion, white or yellow onion, or shallots
- Venison stock or water
- Red wine or beer – we prefer wine
What You Need – Day Two
- Butternut Squash
- Potato
- Carrots
- Celery
- Parsley
- Thyme
- Sage
- Mushrooms
- Frozen Pearl Onions
- Frozen Peas
- Cornstarch to Thicken
How to Make Venison Stew
Day One
You don’t have to take two days to make this stew. It is easily made in one day. It is just better the second day!
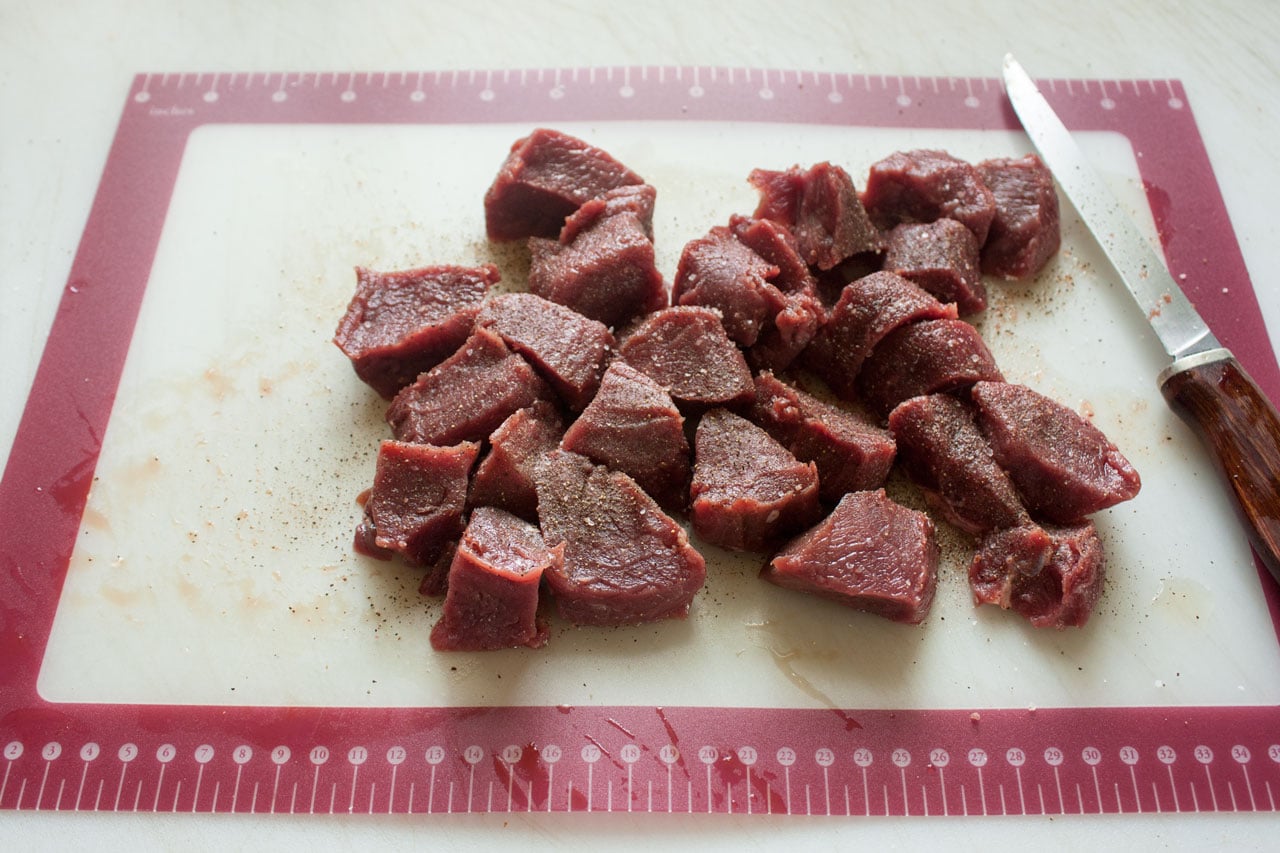
Using a sharp knife, trim away any fat or silver skin from the meat, then cut it into fairly uniform stew-sized chunks.
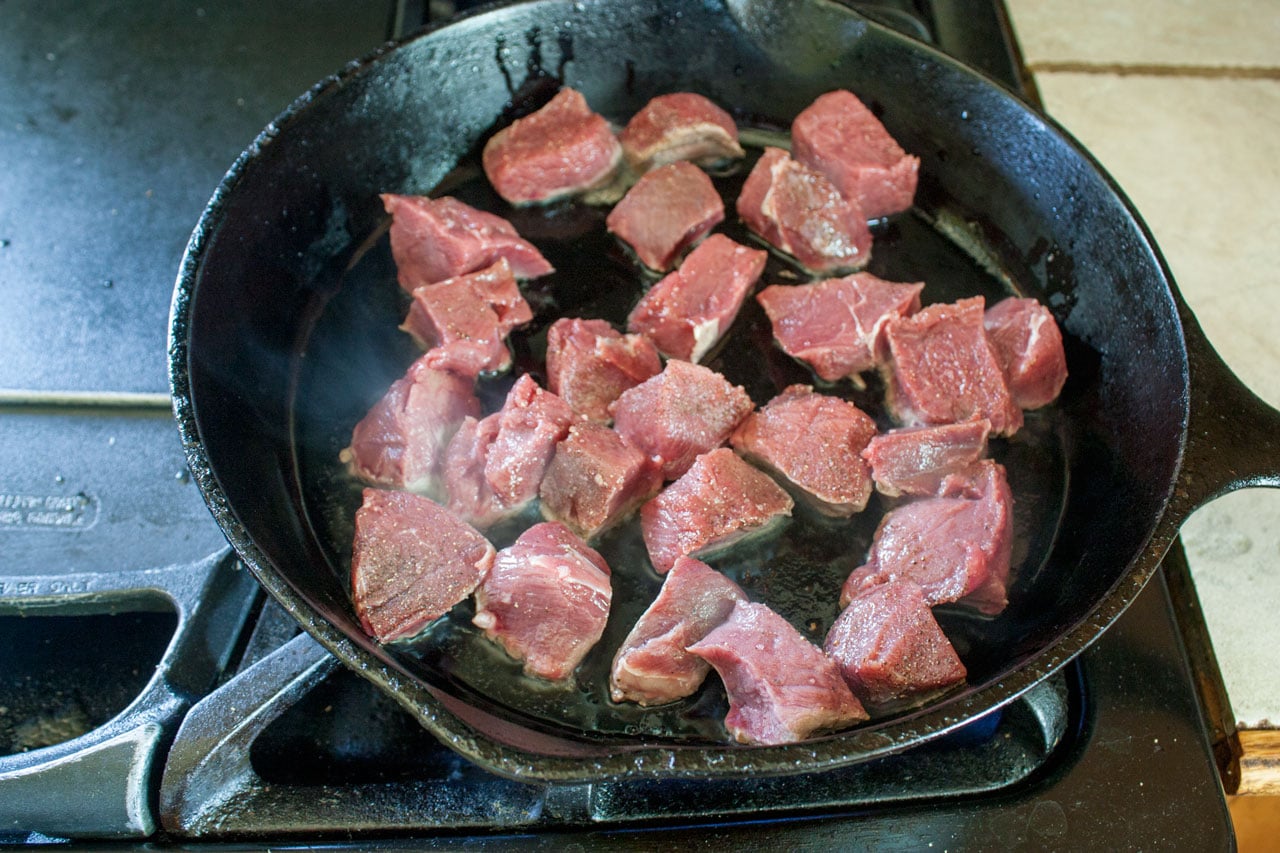
Add olive oil to a cast-iron skillet and heat it over very high heat (if using a stovetop, use a Dutch oven). Place the meat in a few pieces at a time so the pan doesn’t lose heat.
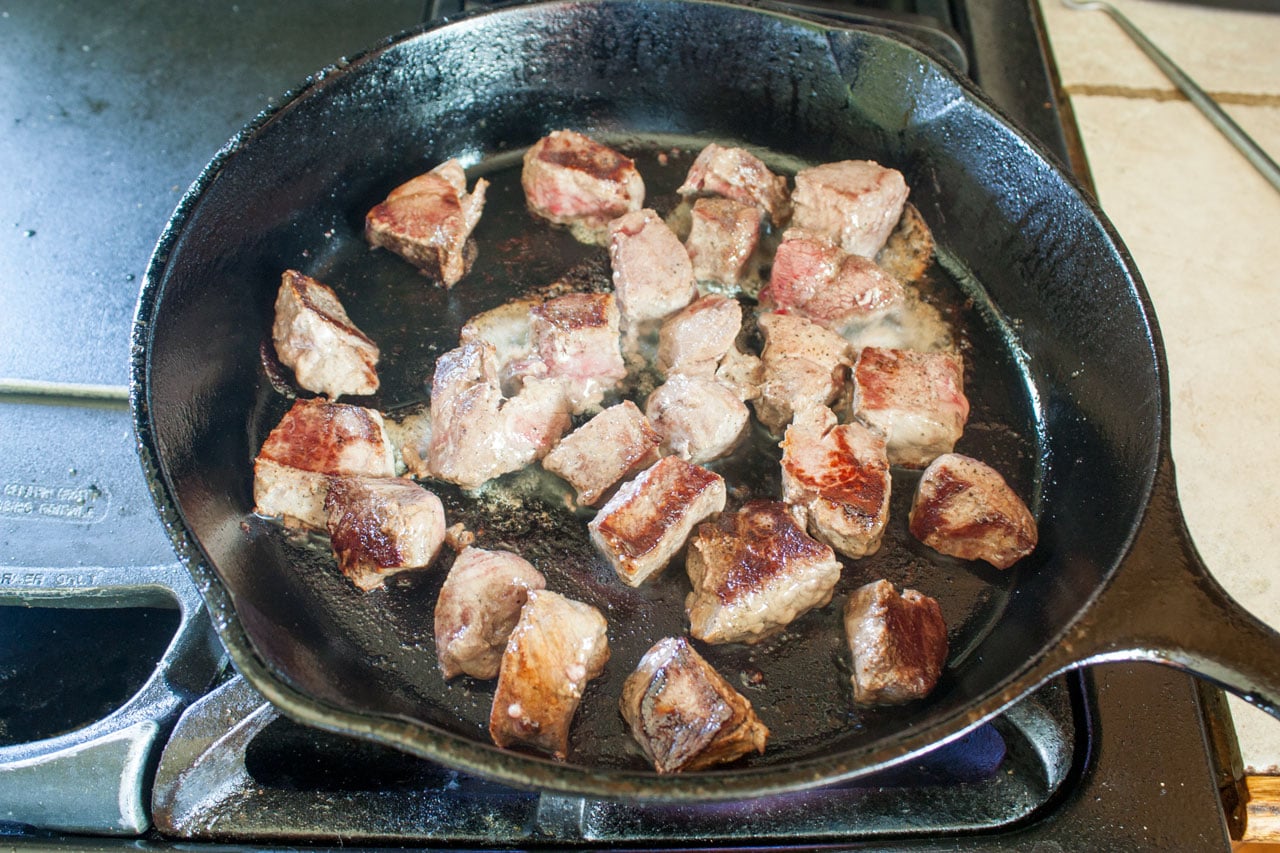
Get pieces as brown as you can on at least 2 sides.
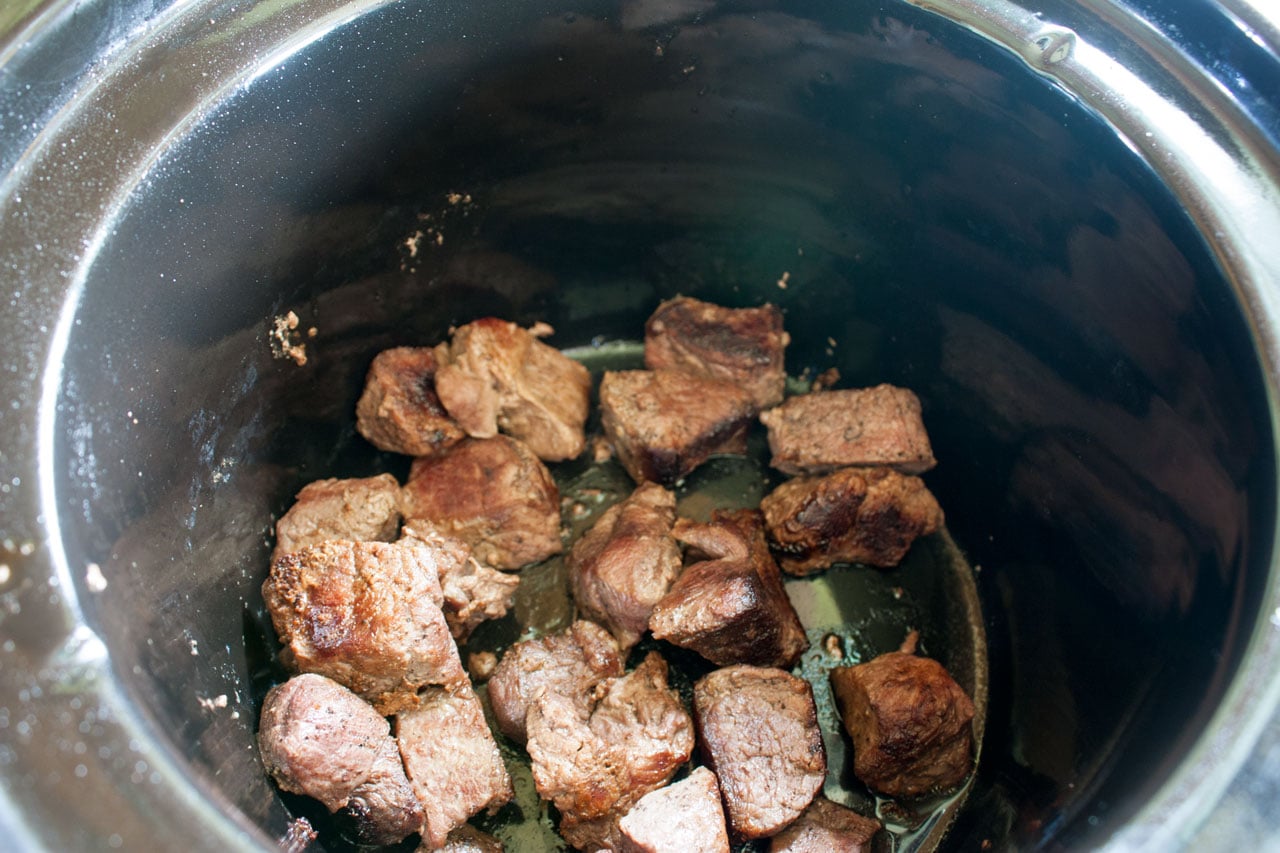
Remove browned venison from the cast-iron skillet and transfer to a slow cooker, if using, or a plate.
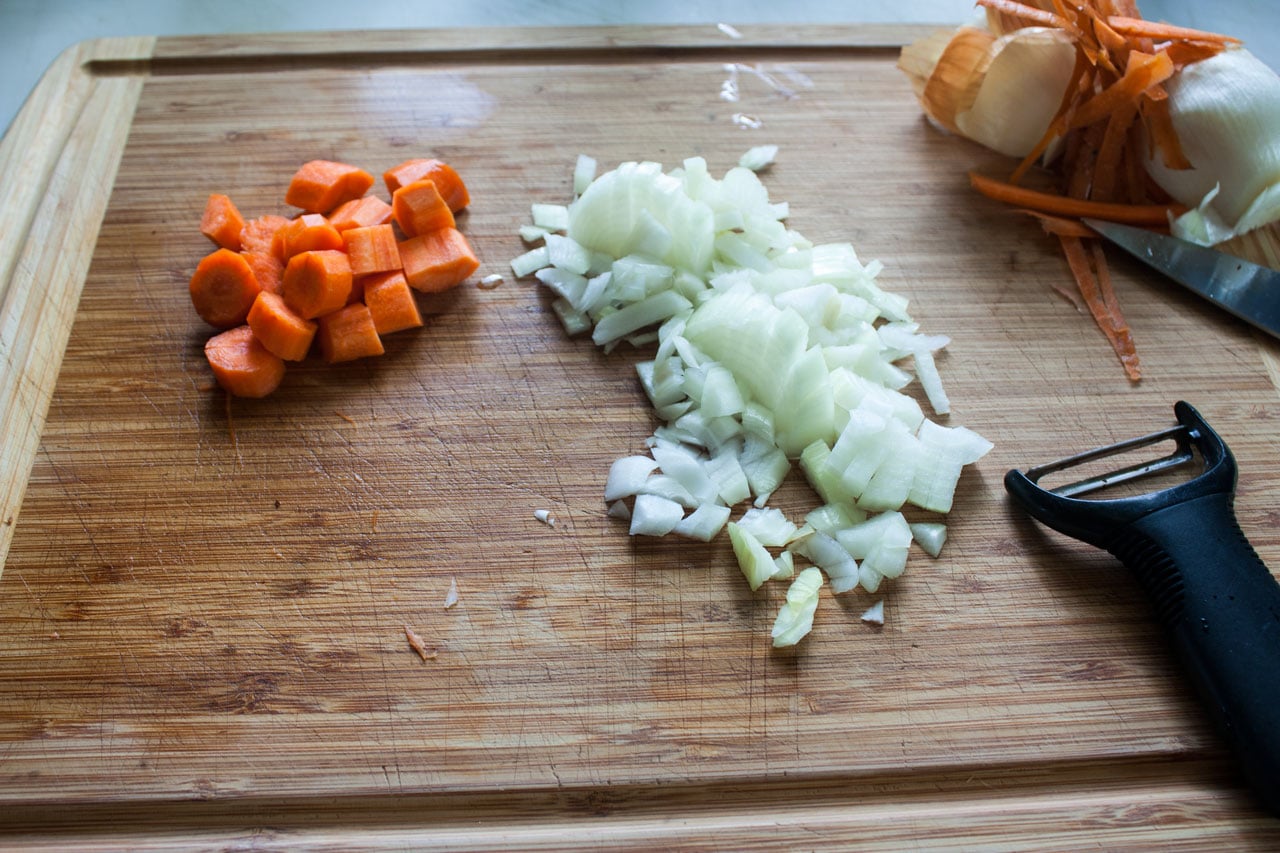
Meanwhile, dice an onion and a carrot.
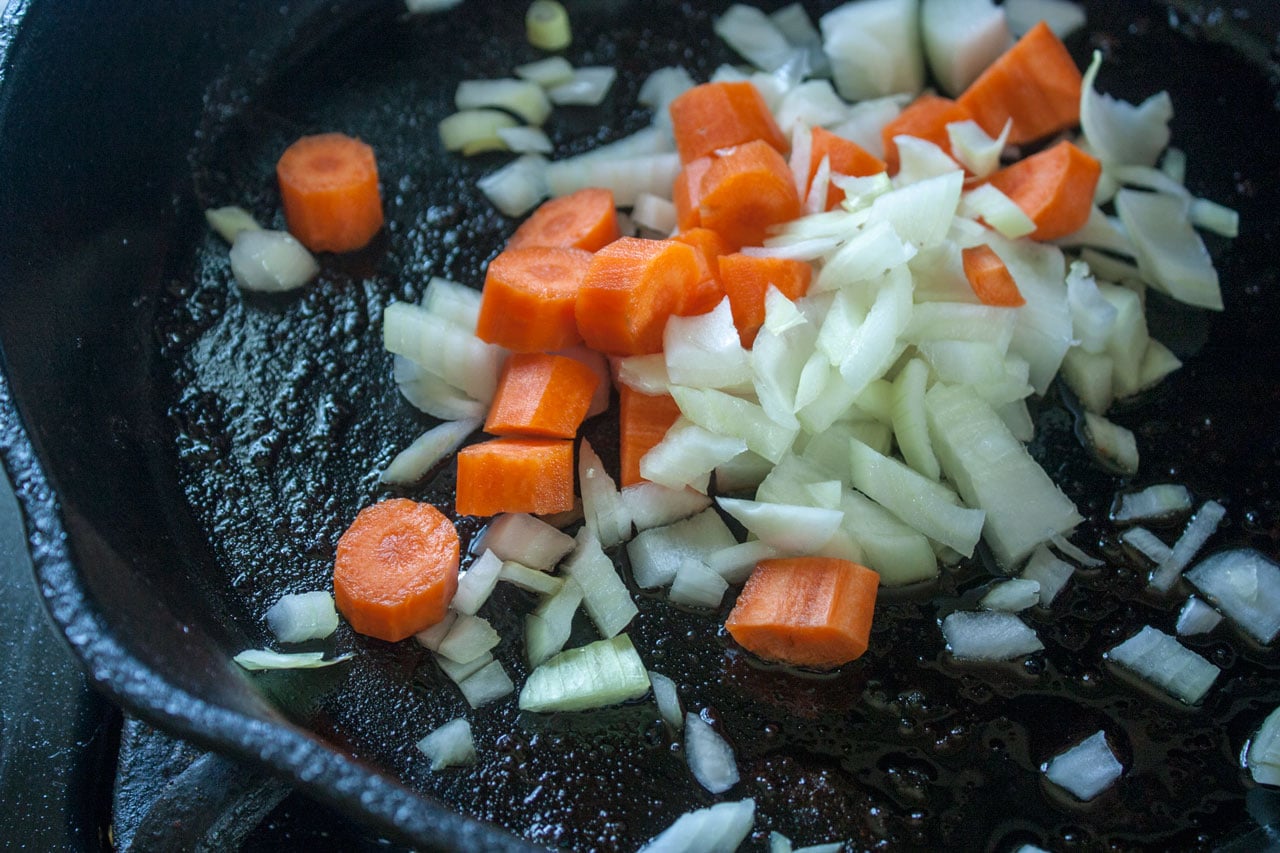
Reduce the heat to medium-low. Add onions and carrots to sweat for a few minutes.
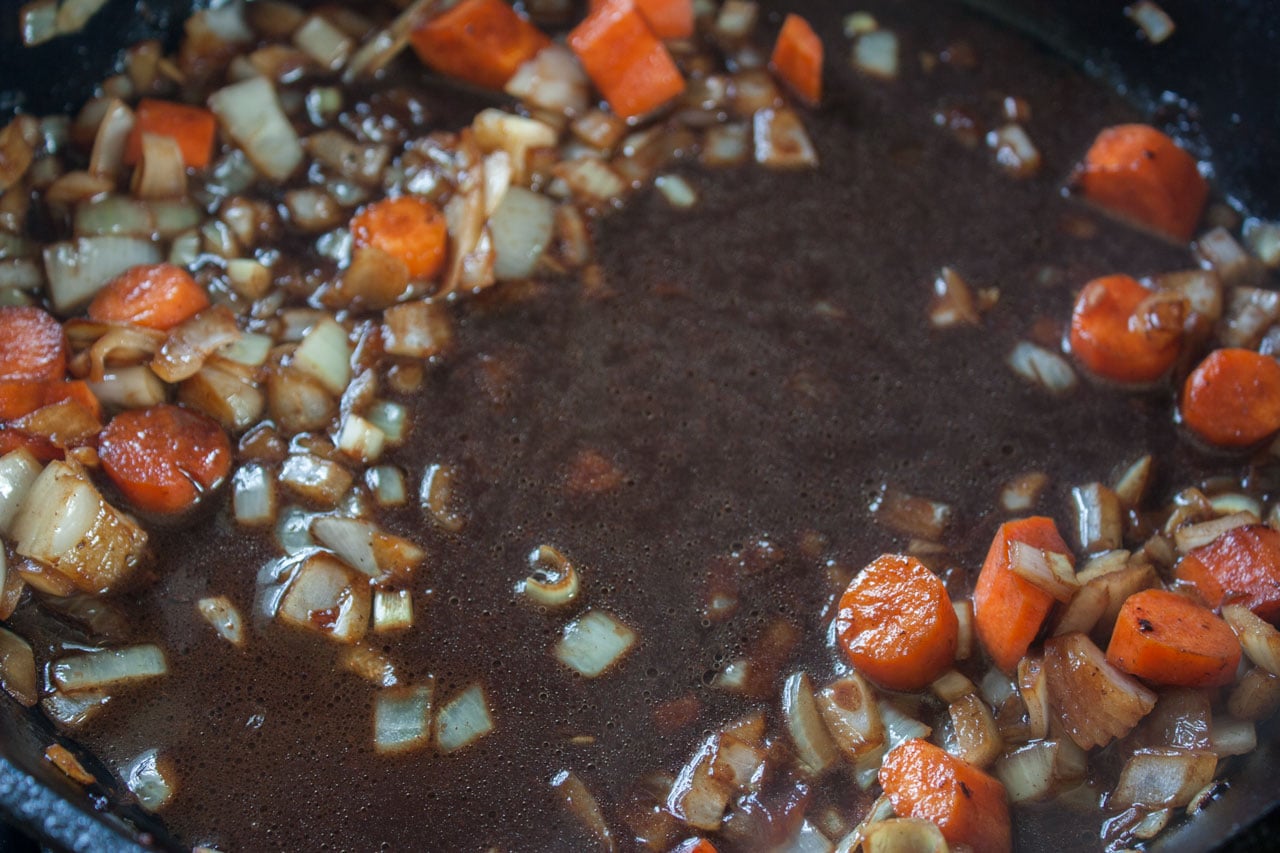
Then add red wine and scrape up all of the browned bits from the bottom of the pan.
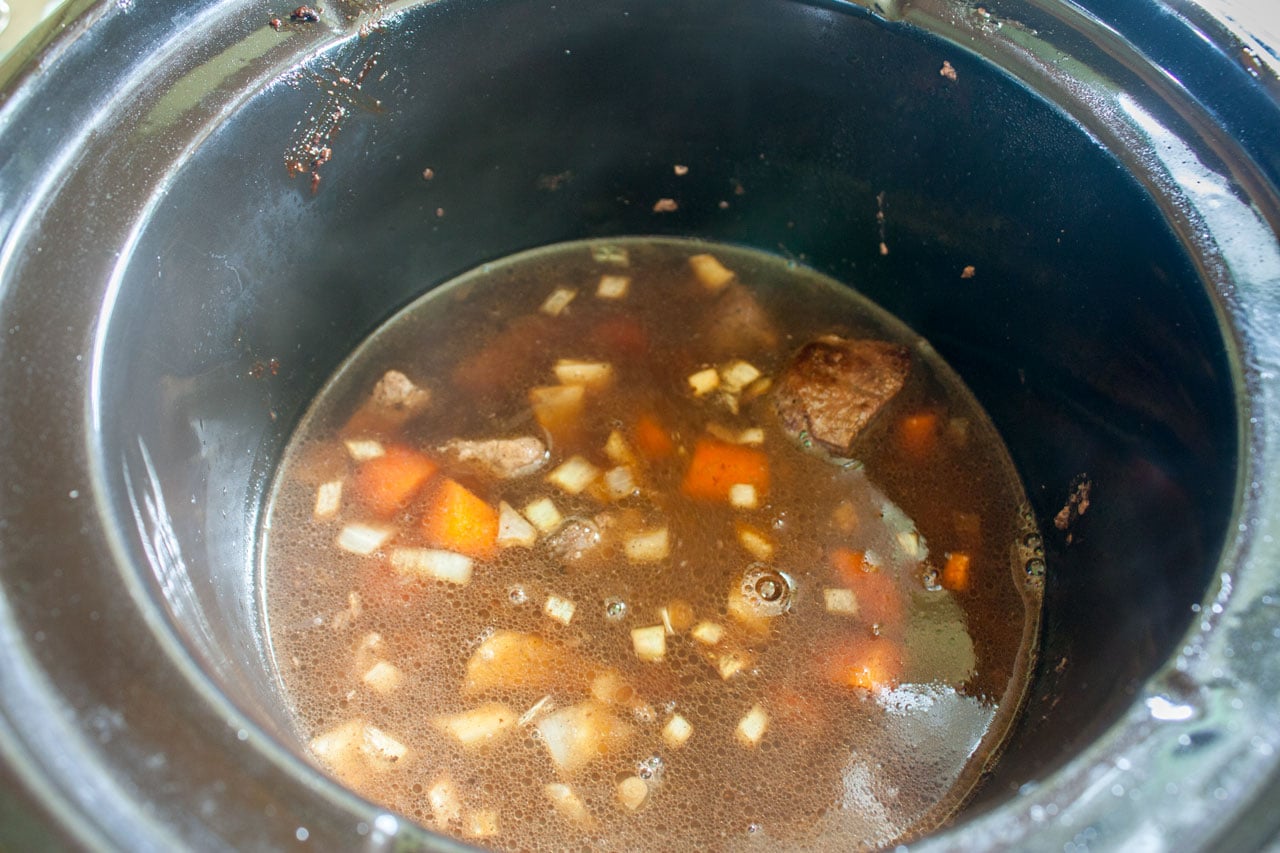
Add vegetables and wine to the crockpot (or Dutch oven) and then cover with water or broth. Salt and pepper to taste. Cook on low for 4 hours, or longer. Cool and refrigerate overnight, or up to 3 days.
Day Two
When you’re ready to continue cooking the stew, remove it from the refrigerator and place it back on the stove or turn the slow cooker to high.
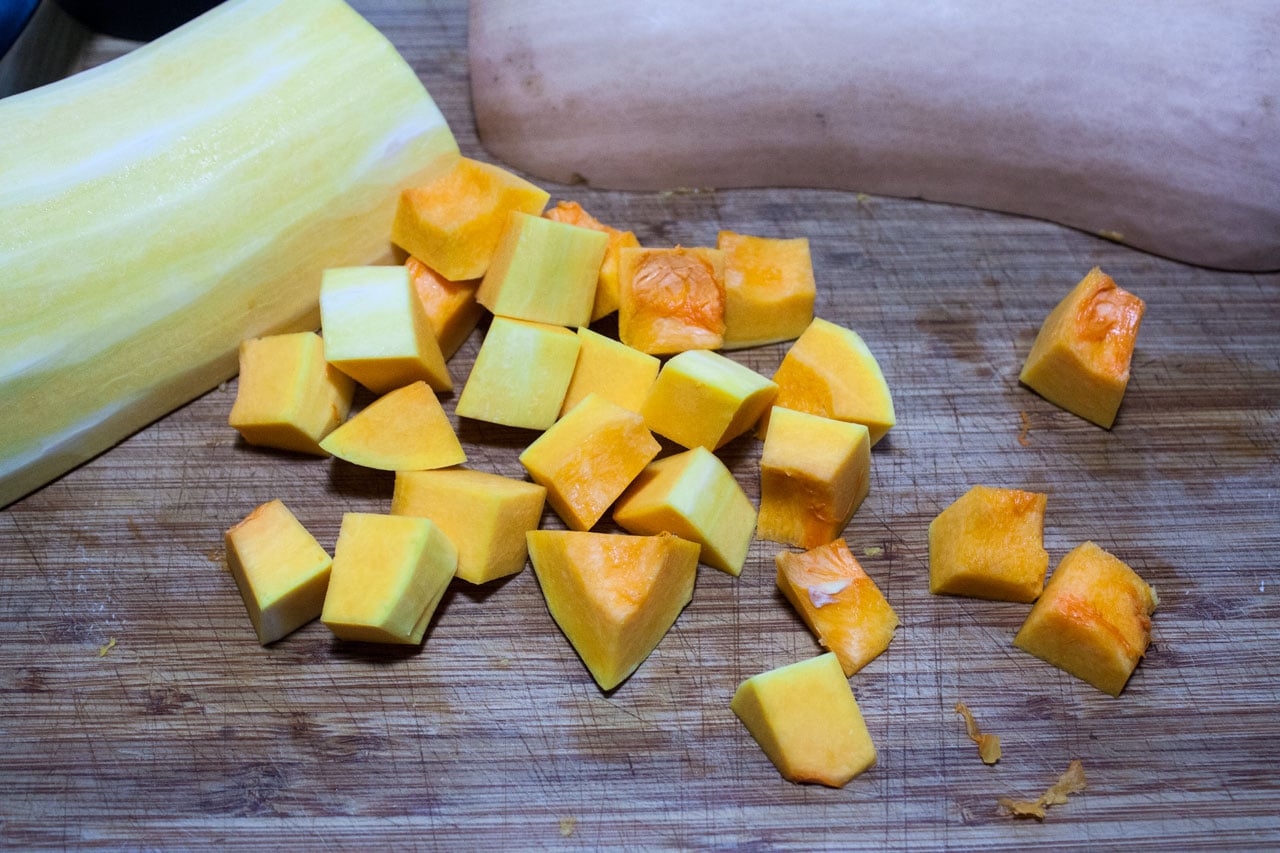
Peel, then cut up butternut squash into small chunks. (I do this Butternut Squash Soup with the remainder of the butternut!)
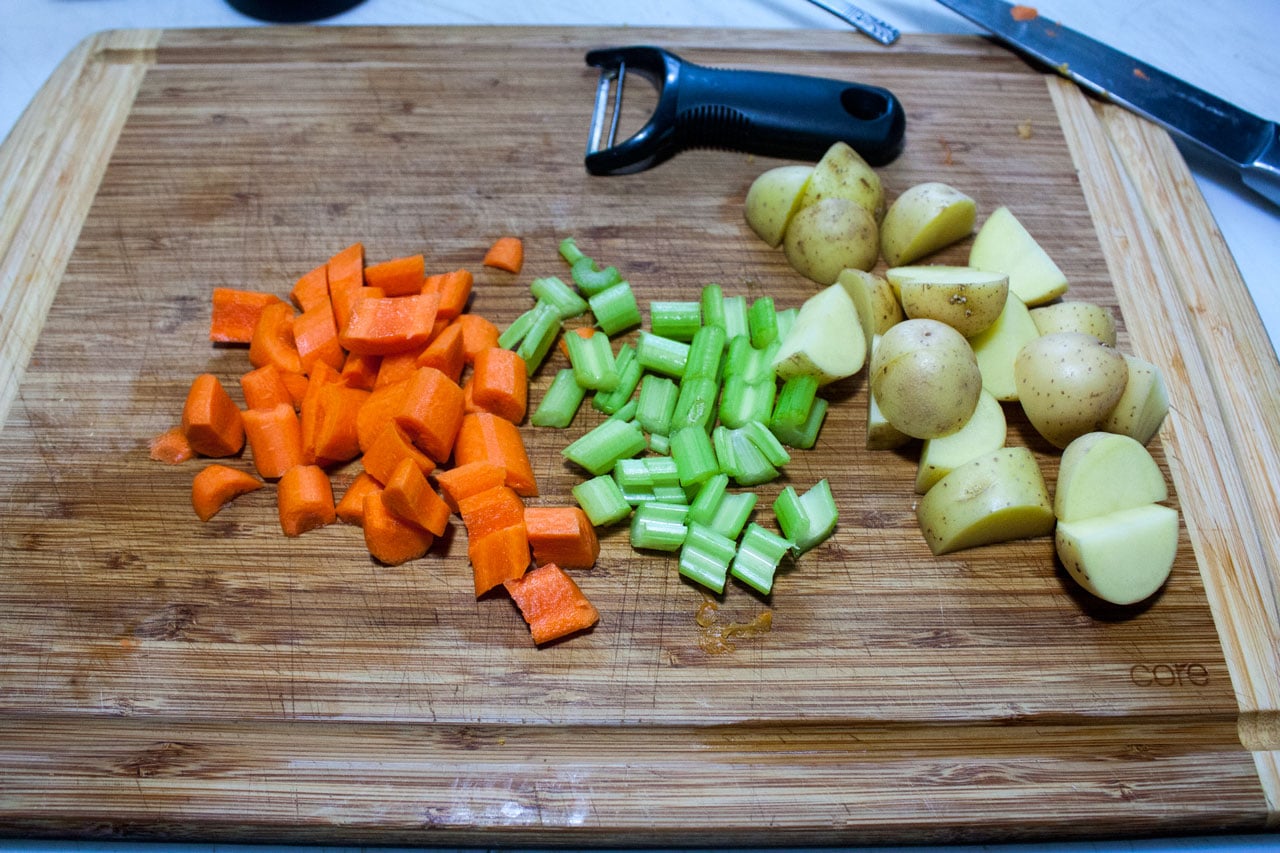
Cut up potatoes, carrots, and celery.
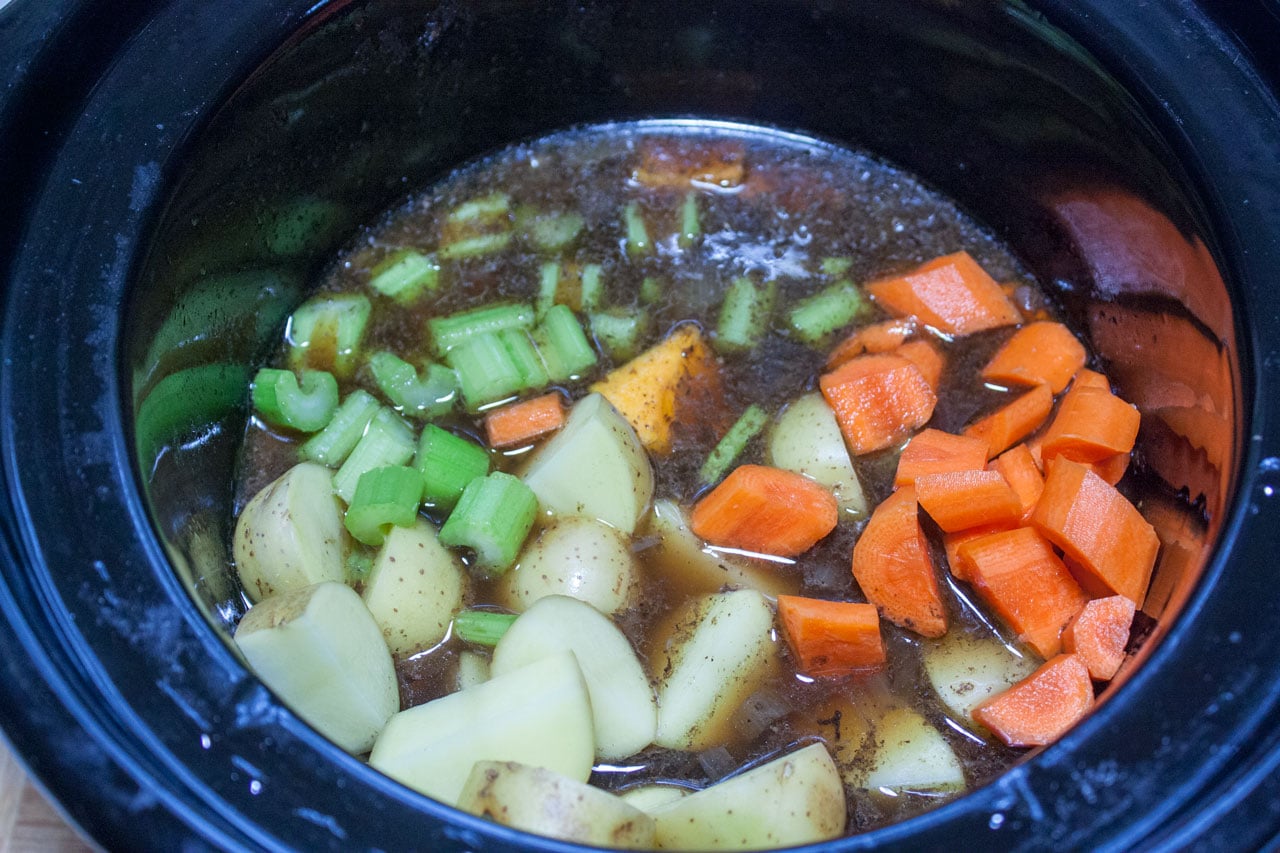
Add the butternut, potatoes, celery, and carrot to the pot. Reduce the heat and cook for about 2-3 hours, until the butternut and carrots begin to soften.
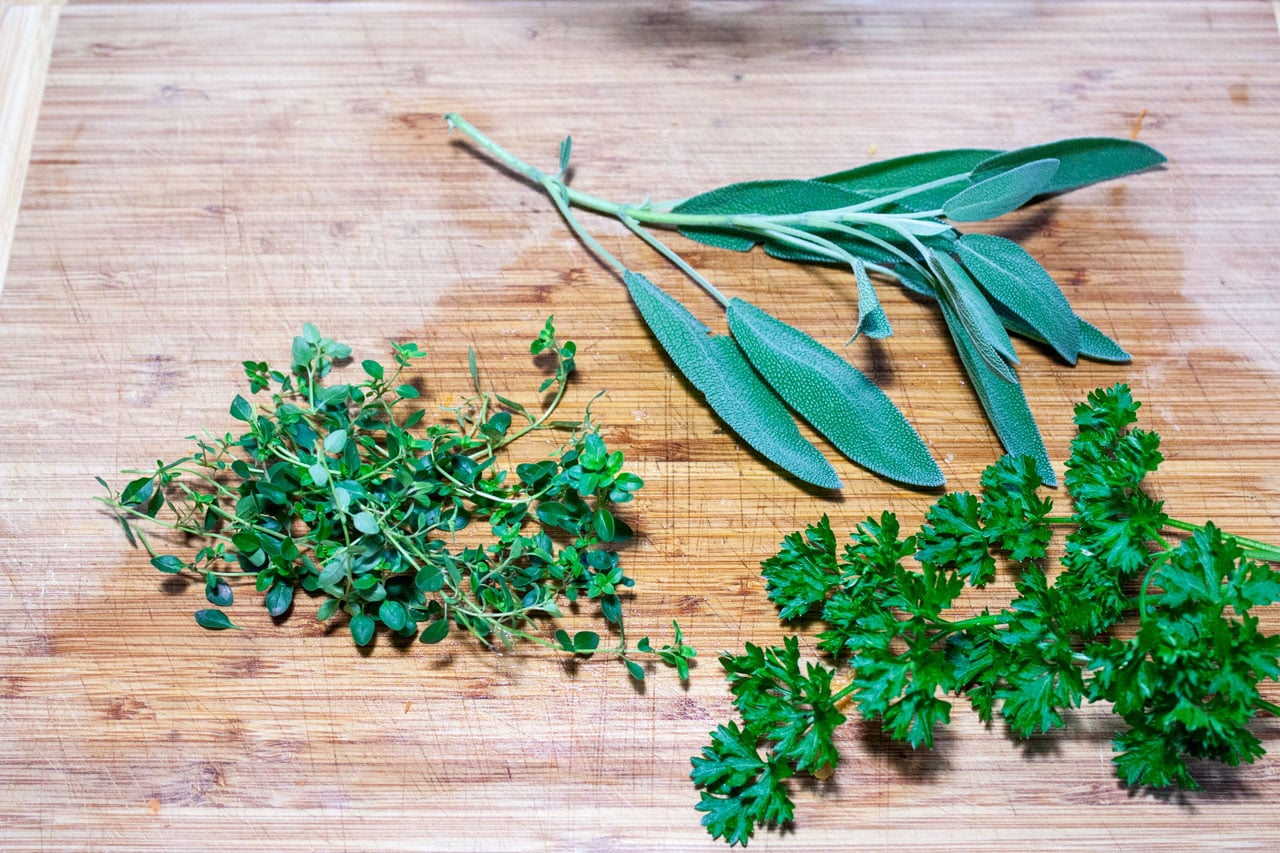
Then add fresh sage, parsley, and thyme. (can substitute dry, but reduce by at least half)
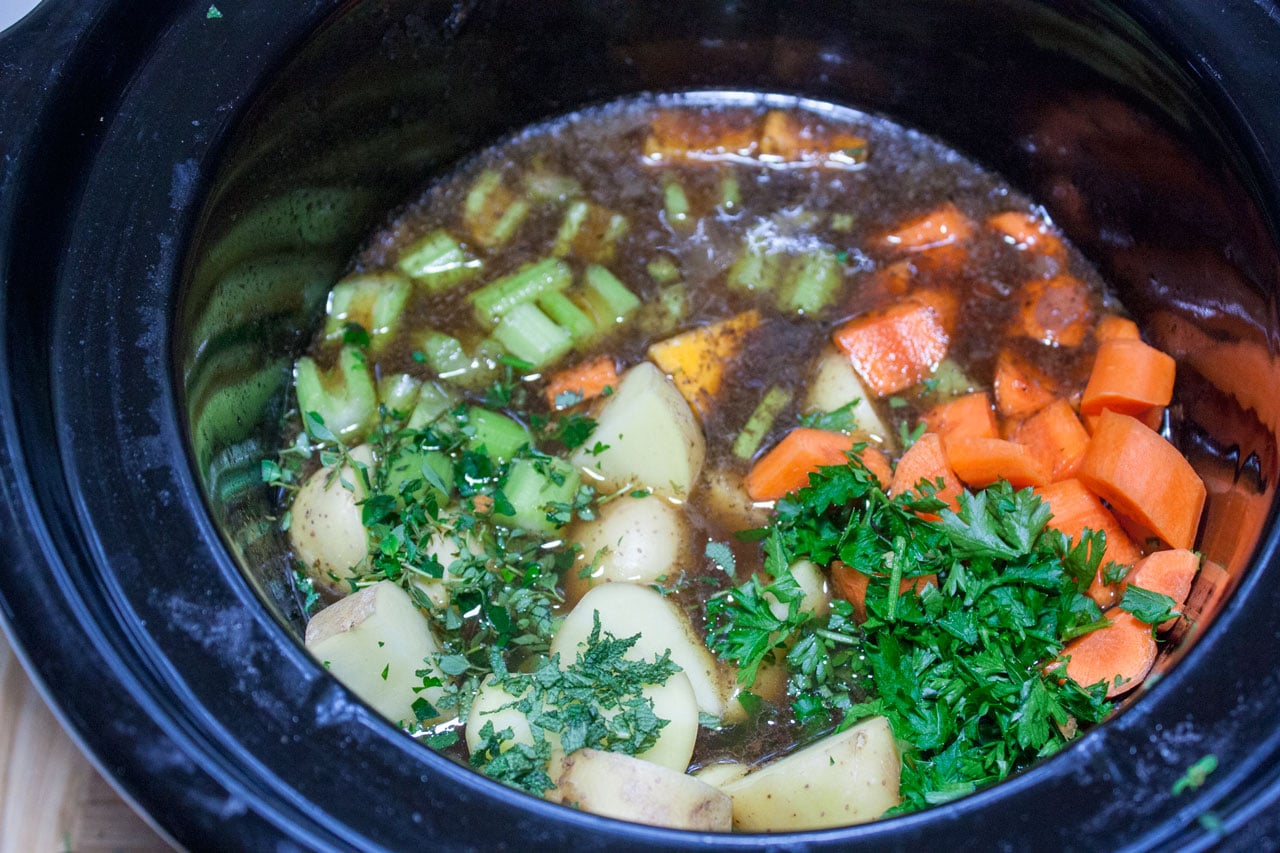
Add herbs.
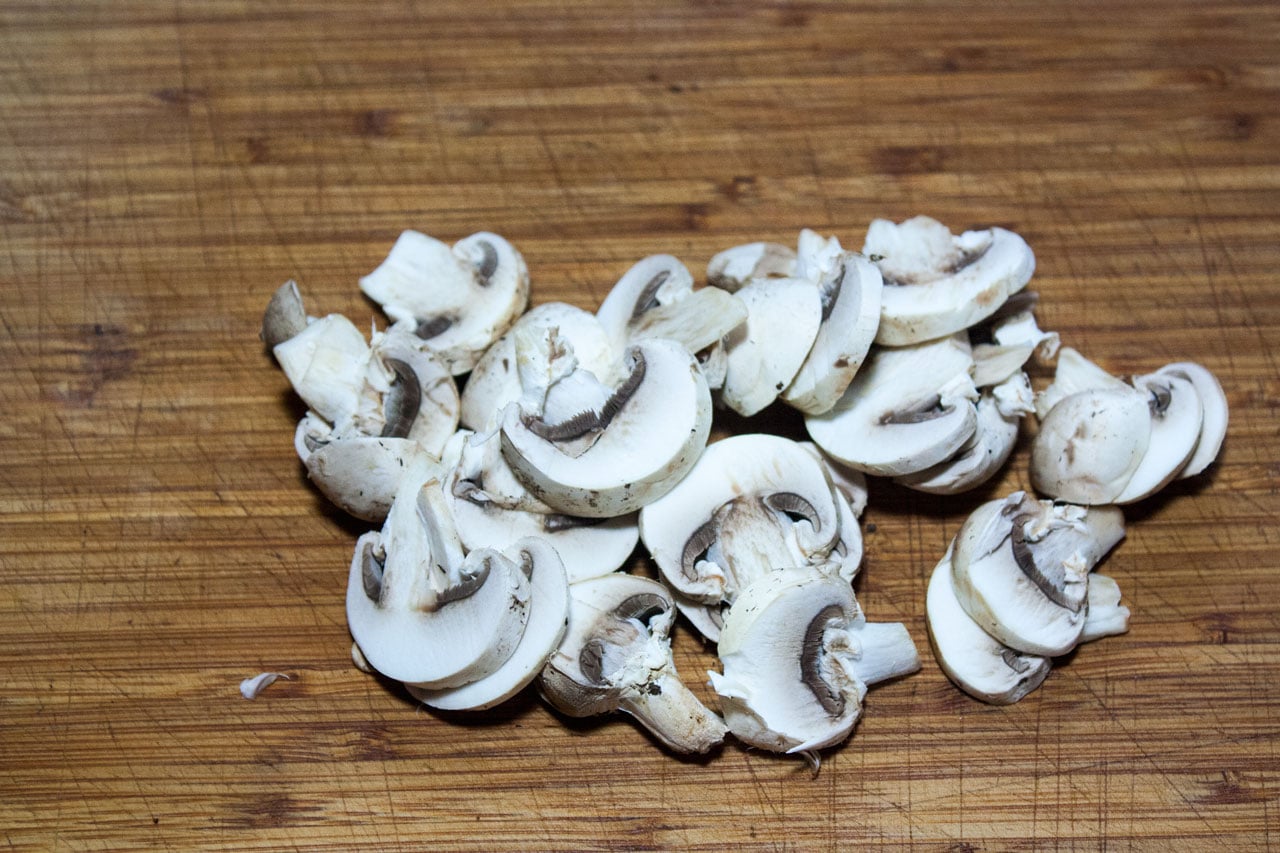
Cut mushrooms on the vertical axis, for presentation reasons only.
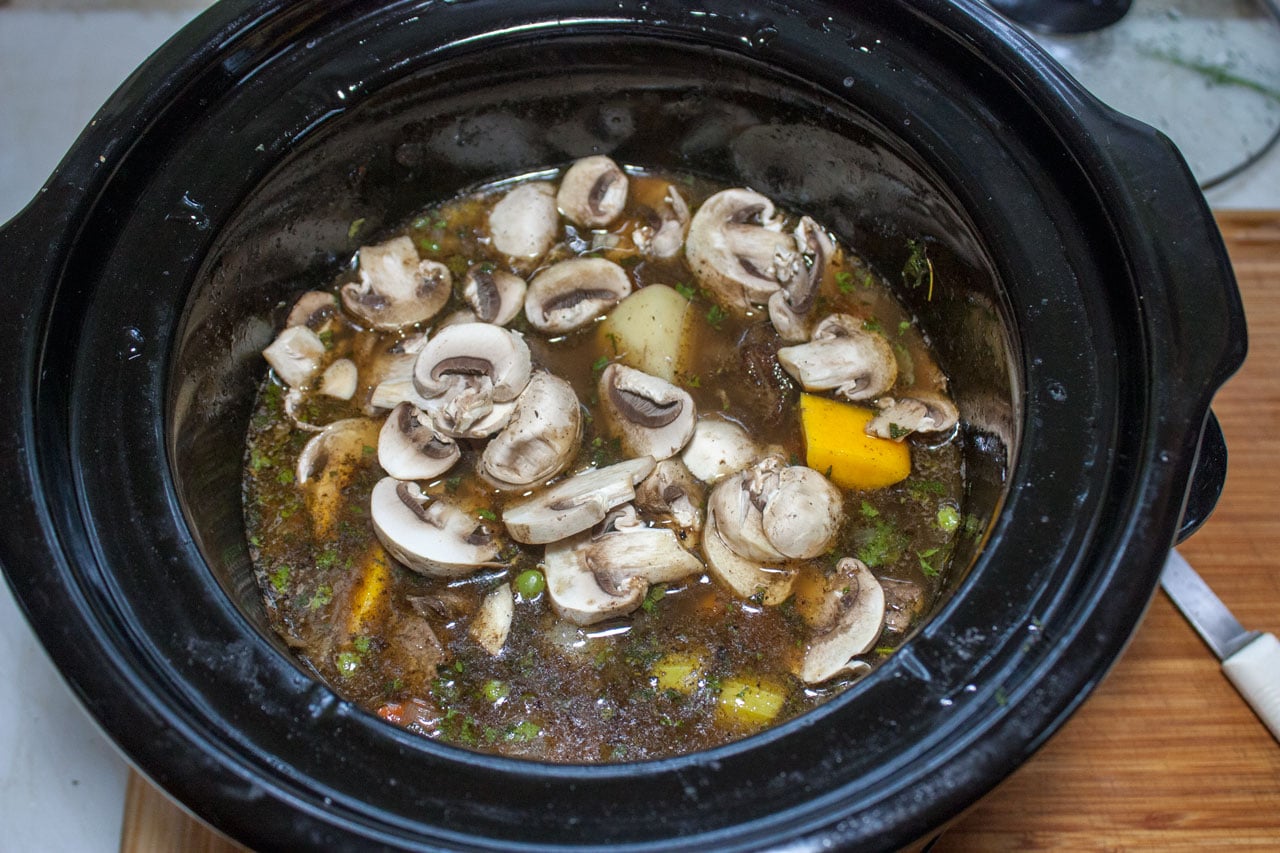
Add to the stew. Cook for at least 30 minutes.
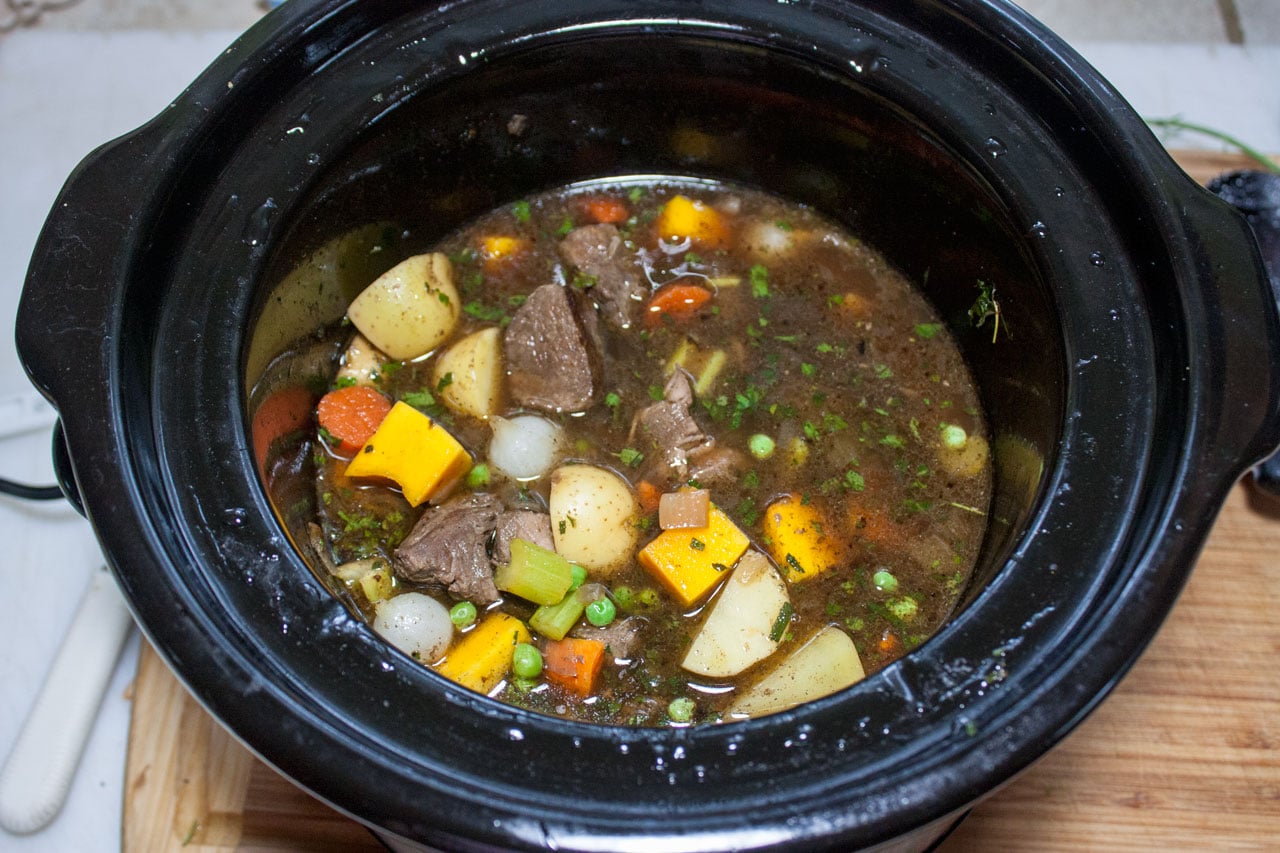
When all the veggies are soft enough for your liking and the meat is fork-tender, add the pearl onions and green peas.
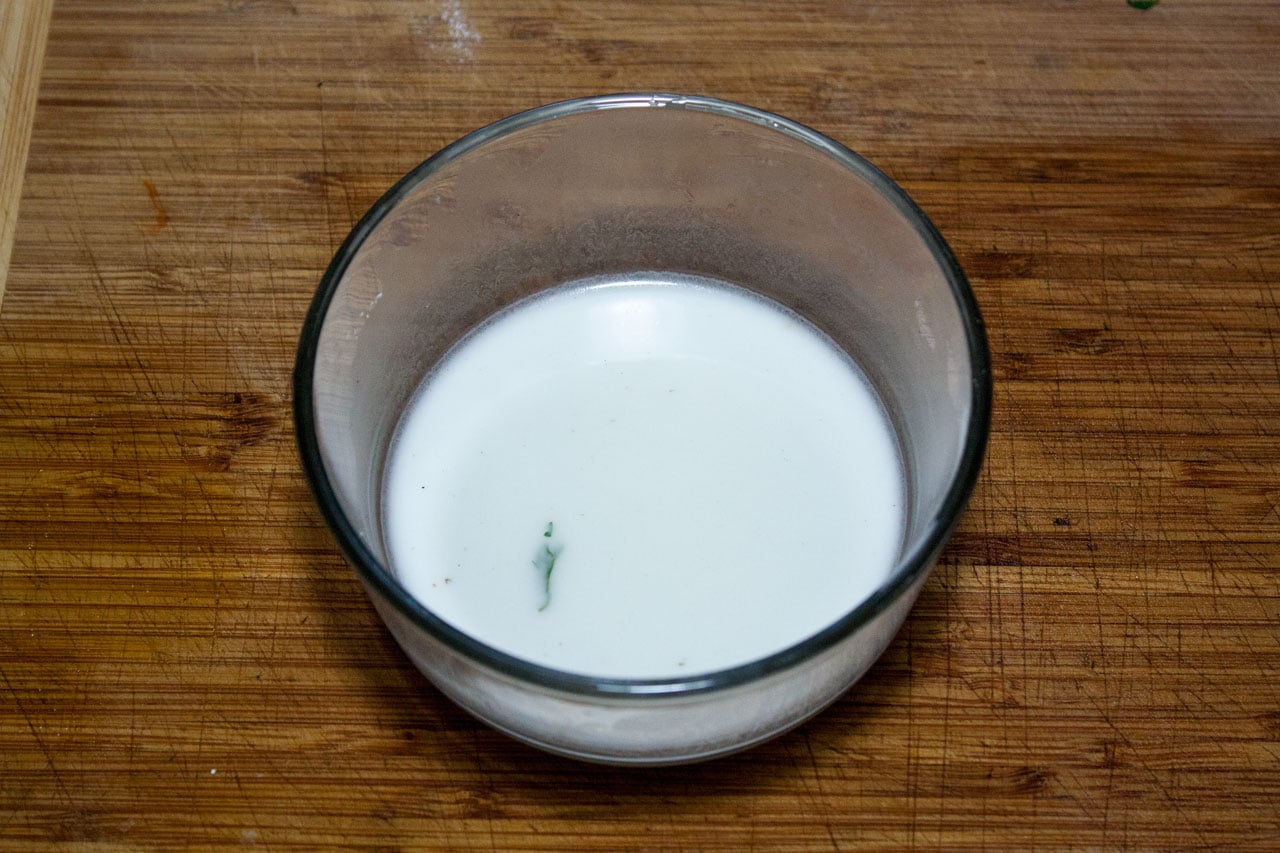
Make a slurry with cornstarch to thicken the stew. About 3 tablespoons of cornstarch mixed with warm water. Stir or whisk until all of the chunks are removed.
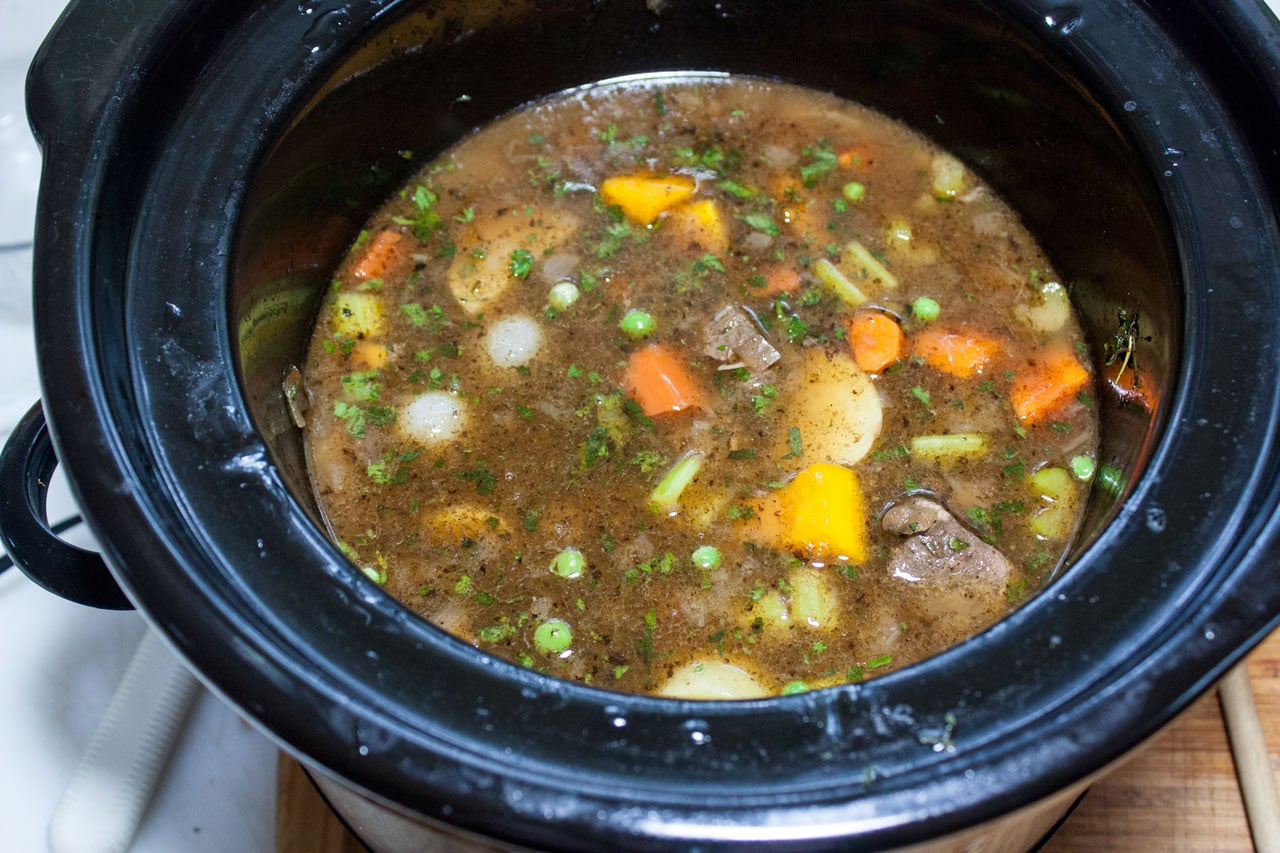
Cook for another hour or so. Stew will turn a nice dark brown and thicken up when the cornstarch is cooked through.
Other Vegetables to Add
You can pick whatever veggies you like in your stews. Quantities are not critical with this recipe either. It’s all pretty subjective. Whatever you like, add to your stew! Just go for it and be adventurous.
- Peppers
- Corn
- Green Beans
- Barley
- Beans
- Brussels Sprouts
- Parsnips
- Turnips
- Rutabaga
- Celeriac
- Sweet Potato
- Squash
Additional Herbs and Flavorings
- Bay leaf
- Garlic
- Tomato paste
- Worcestershire sauce
- Bacon fat – Use bacon fat to brown in instead of oil.

Tools That Make This Recipe Work
If you don’t already have these, this is where most people struggle.
- Cast Iron Skillet – Gives the venison a deep, flavorful sear before simmering. Without proper browning, the stew can end up flat and lacking that rich flavor base.
- Dutch Oven – Holds steady heat for long, slow cooking without scorching the stew. Thin pots tend to create hot spots that can toughen the meat or burn the bottom.
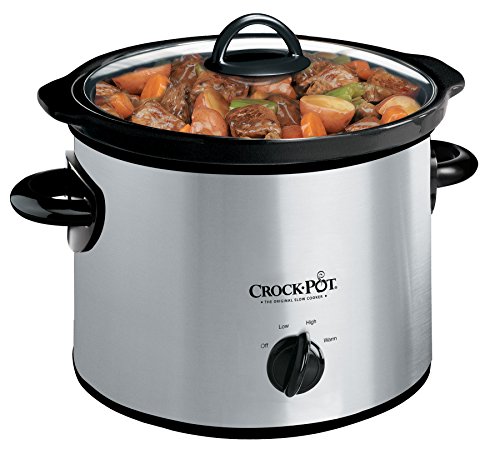
- Crockpot – Makes it easier to cook venison low and slow until tender. Cooking it too fast or at high heat often leaves the meat chewy instead of fork-tender.
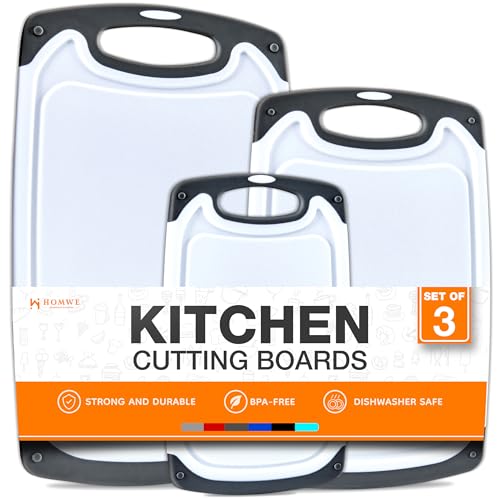
- Wood Cutting Board – Gives you a sturdy surface for trimming and cutting venison safely. Small or slippery boards make prep messier and harder to manage.
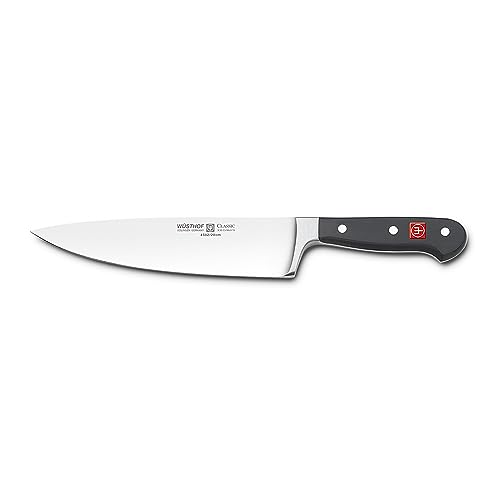
- Chef’s knife – Helps you trim silver skin and cut evenly sized stew meat for consistent cooking. A dull or lightweight knife makes prep slower and can leave ragged cuts that cook unevenly.
Stove Top Method
- Prepare and brown the venison: Using a sharp knife, trim any fat or silver skin from the meat, then cut it into evenly sized stew chunks. Heat olive oil in a Dutch oven over high heat and brown the venison in batches so it sears properly without steaming.
- Build flavor base: Remove the browned meat and set it aside. Reduce the heat, then add diced onion and carrot. Let them soften for a few minutes before pouring in red wine and scraping up all the browned bits from the bottom of the pot.
- Slow simmer: Return the meat to the Dutch oven and add enough water or broth to cover. Season with salt and pepper, then simmer low and slow for about 4 hours, until the venison starts to tenderize.
- Add vegetables and herbs: Add the potatoes, carrots, celery, and butternut squash. Continue cooking until the vegetables begin to soften. Stir in fresh sage, parsley, and thyme, then add sliced mushrooms and cook until tender.
- Thicken and finish: Mix cornstarch with warm water and stir it into the stew. Simmer for 10 to 15 minutes until it thickens and darkens. For the best flavor, cool and refrigerate overnight before finishing.
Instant Pot Method
- Prepare and brown the venison: Trim the meat using a sharp knife, then cut it into even chunks. Set the Instant Pot to sauté mode, add oil, and brown the venison in batches for better flavor and texture.
- Build the base: Remove the meat and sauté diced onion and carrot until slightly softened. Add red wine and scrape the bottom well to prevent burning and capture all the flavor.
- Pressure cook the stew: Return the venison to the pot and add butternut squash, potatoes, celery, carrots, mushrooms, and herbs. Seal and cook on high pressure for 35 to 40 minutes, then allow a natural release for 10 minutes.
- Finish the stew: Open the lid and add pearl onions and peas. Stir in a cornstarch slurry, then switch to sauté mode and cook for a few minutes until the stew thickens and the vegetables are fully heated through.
Make-Ahead and Storage
You can make this stew over 2 days for the best flavor, but it also works in 1 day if needed. Refrigerate leftovers for up to 3 days. Freeze the cooled portions in airtight containers for up to 3 months, then thaw overnight before reheating.

This skillet handles high heat well for browning venison and caramelizing onions. Built-in pour spouts make it easier to drain extra liquid or grease.

Use this for slow-cooking tougher cuts of meat until they turn tender. The steady heat works well for long-simmering meals with broth and vegetables.
Pro Tips to Ensure Your Success
- Trim the meat well. Do not leave any fat, sinew, connective tissues, or silver skin on the meat.
- Cut pieces about the same size.
- Use a back leg cut of meat, such as the bottom round or rump.
- Brown the meat over very high heat. Sear on at least 2 sides.
- Make sure to deglaze the browning pan with the wine or stock and scrape the browned bits off the bottom.
- Stew can be made in one day, but flavors develop further if cooked for 2 days.
- Store leftovers in the refrigerator for about 3 days. Freeze in portions for longer storage.
- Use venison stock or vegetable stock; try to avoid beef broth, if possible. It tends to overpower the subtle venison flavor. If you don’t have broth, you can just use water; it will be flavored by the pan drippings and make stock.
If you’re a fan of hearty stews, try this mushroom stew. It’s a flavorful European stew, a mushroom lover’s dream.
FAQs
Can I make venison stew ahead of time?
Yes. In fact, the flavor improves if the stew rests overnight before you finish it.
Why shouldn’t I use beef broth?
Beef broth can overpower the natural flavor of venison. Venison stock, vegetable stock, or even water combined with the browned bits from the pan will give the stew a richer and more balanced flavor.
Can I freeze venison stew?
Yes. Freeze it after cooking, and let it cool completely first for the best texture.
How do I keep venison from getting tough?
Low and slow cooking is the key. Venison is very lean, so rushing the cooking or using high heat can dry it out and make it chewy rather than tender.
Want to learn more about How to Cook Venison? Don’t miss our awesome Ultimate Guide! Complete with 65 FREE Recipes from some of the top venison recipe developers in the world!
I hope you enjoyed today’s venison stew recipe! Go here for more great venison recipes on Binky’s Culinary Carnival.


Venison Stew, Slow Cooker or Stovetop
Ingredients
Day One
- 1 1/2 lbs Venison, cut into cubes
- drizzle olive oil to coat pan.
- 1 onion, diced
- 1 large carrot, diced
- 1 stalk Celery
- 1/2 cup red wine
- water to cover
- salt and pepper, to taste. You can adjust later.
Day Two
- 1 cup butternut squash, cut in cubes
- 1 1/2 cup potato, cut in cubes (4 small)
- 1 cup carrots, cut in chunks (2 medium)
- 1/2 cup celery, cut in larger chunks
- 1 tablespoon fresh parsley, minced
- 1 teaspoon fresh thyme, minced
- 1/2 teaspoon fresh sage, minced
- 5 small mushrooms, sliced vertically
- 1/2 cup frozen pearl onions
- 3/4 cup Frozen Peas
- 3 tablespoon cornstarch
Instructions
For Day One
- Trim the venison stew meat well, before cutting into cubes. If stove top cooking, use heavy bottom Dutch oven. If slow cooking, just use any heavy bottom pan. Heat oil on high heat. When oil is hot, add a few pieces of venison at a time so that oil doesn't lose temperature. Brown venison on all sides, when brown, remove to plate.
- Once all the venison is browned, reduce heat to medium low. Add a bit more oil to pan. Saute the onion, carrot and celery, scraping up the fond (the brown stuff) in the bottom of the pan.
- Add red wine, continuing, to scrape pan. If using the stove top, add meat back to pan and cover with the stock or water. If using slow cooker add meat and the vegetable mixture and the wine, stock or water to slow cooker. In both cases, cook on low for 4-6 hours.
- Let cool and refrigerate, overnight, or up to 3 days.
Day Two
- The next time you cook the stew, add the butternut, potatoes, carrots, celery. and herbs. Cook for 3 hours, or so.
- Add mushrooms. Make a slurry of cornstarch and warm water, make sure you stir or whisk all of the lumps out. Cook 1 hour, or so. Add onions and peas and heat through, about 30 minutes. Adjust seasoning. Serve.
- Times are not critical, so whatever fits into your schedule, is fine. The times I suggest, are the minimum required to cook the ingredients!

 See all of my favorite tools and gift ideas on my New Amazon Store!Check out Binky's Amazon Store!


I have made this stew twice and it is wonderful! I marinate the cubed venison in red wine for a day before I sear it. This year I added carrots, celery, onion, cauliflower, corn, peas, green beans, acorn squash, mushrooms and tomatoes! Absolutely wonderful! Best ever – especially day 2!
I’m so glad to hear that you like it Mary! Great choice of veges too! And you are totally right about day 2! I love that you marinated it in wine too! Yum!
I’m not sure where to use the stock. It’s mentioned in the notes to use beef or vegetable if you don’t have it, but I’m not seeing where in the recipe.
Sorry. I will fix the recipe card. It is stated in the post. Add the stock and water after cooking the wine a few minutes and scraping the bottom of the pan. Let me know how you like it! Thanks Patricia!
Hi, I finished this today! It came out very good!
Hi Didi! I’m so happy you enjoyed it! Thanks for letting me know!